This guide walks you through the setup process for creating and configuring a custom app within Refold, covering essential steps such as defining credentials and authorization methods.Documentation Index
Fetch the complete documentation index at: https://docs.refold.ai/llms.txt
Use this file to discover all available pages before exploring further.
Creating a Custom App
The first step in setting up a custom app is creating it within the Refold platform. To create a Custom App, follow these steps:- Navigate to
Appssection in Refold and click on the+ Add Appbutton in the top right corner.
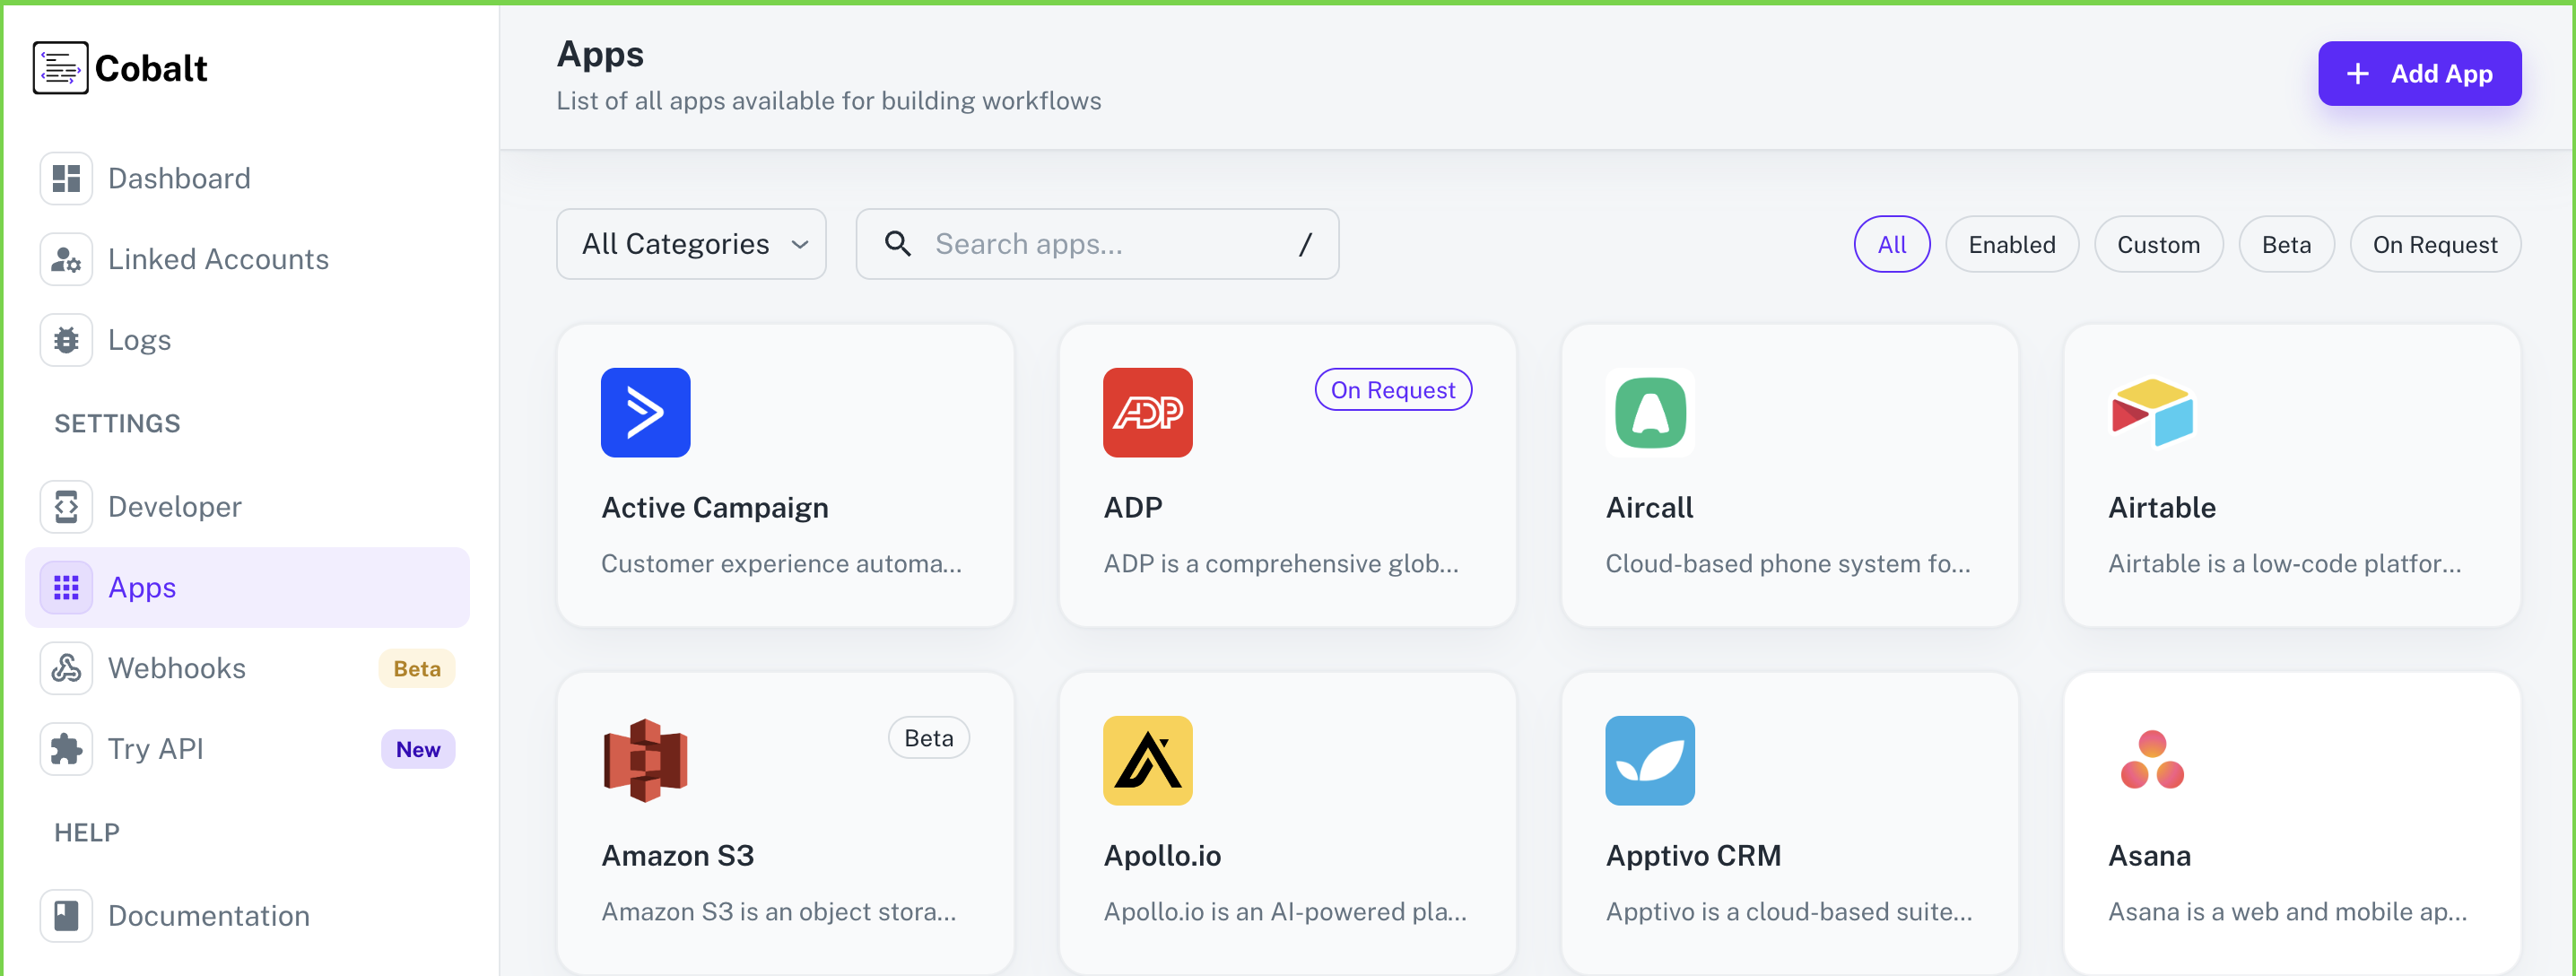
- Choose
Manually> Give the Custom AppName> Provide aSlugand aDescriptionif required > Click onCreate App.
Slug will be auto-generated from the App Name if not provided by the user
- Click on
Enablein the top right if the user wants to enable the app for the Linked Accounts. - Details about the App like Name, Category, Slug etc can be edited in the
Overviewsection of the App. Click on theEditicon, change the details and click onSave changes.

To delete a Custom App, simply click on the
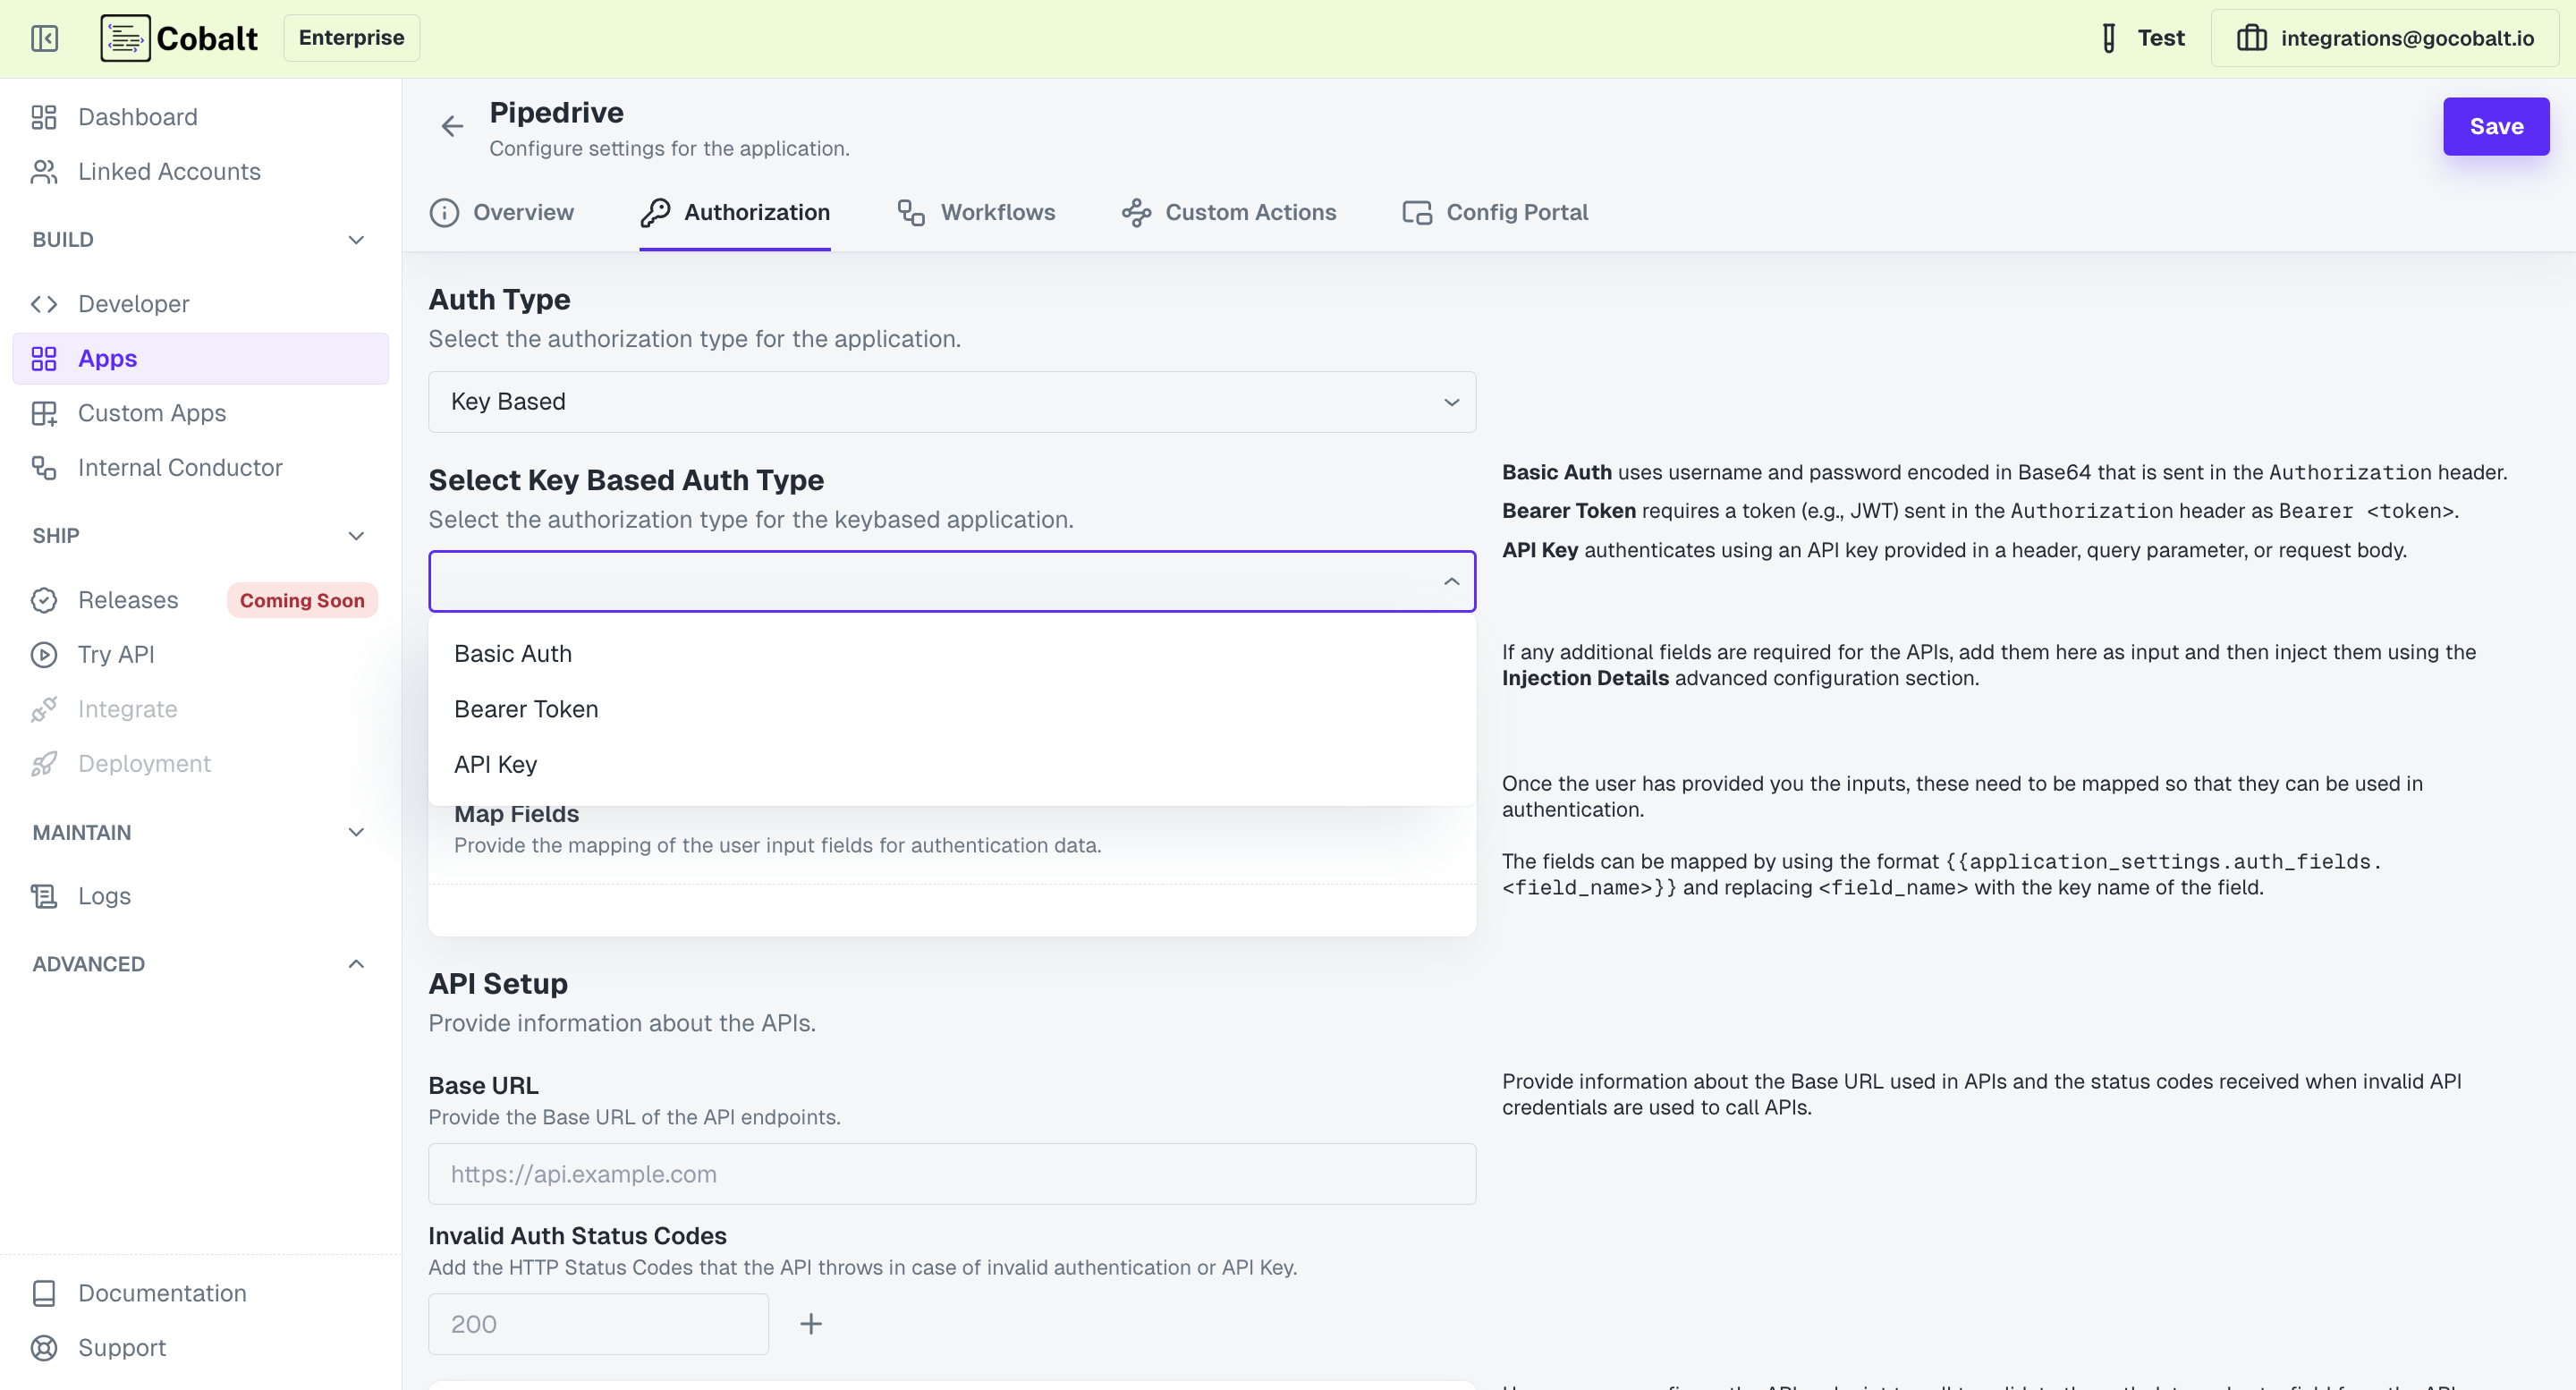
Bin icon in the top-right and click on Delete to confirm it.Configuring Credentials and Authorization
Effective integration of a custom app requires proper configuration of credentials and authorization methods. Custom Apps support 4 authentication methods which are Key Based, OAuth 1, OAuth 2.0 and No Auth for the app. To setup the Authorization for the Custom App, navigate toAuthorization in the App and choose the desired method.
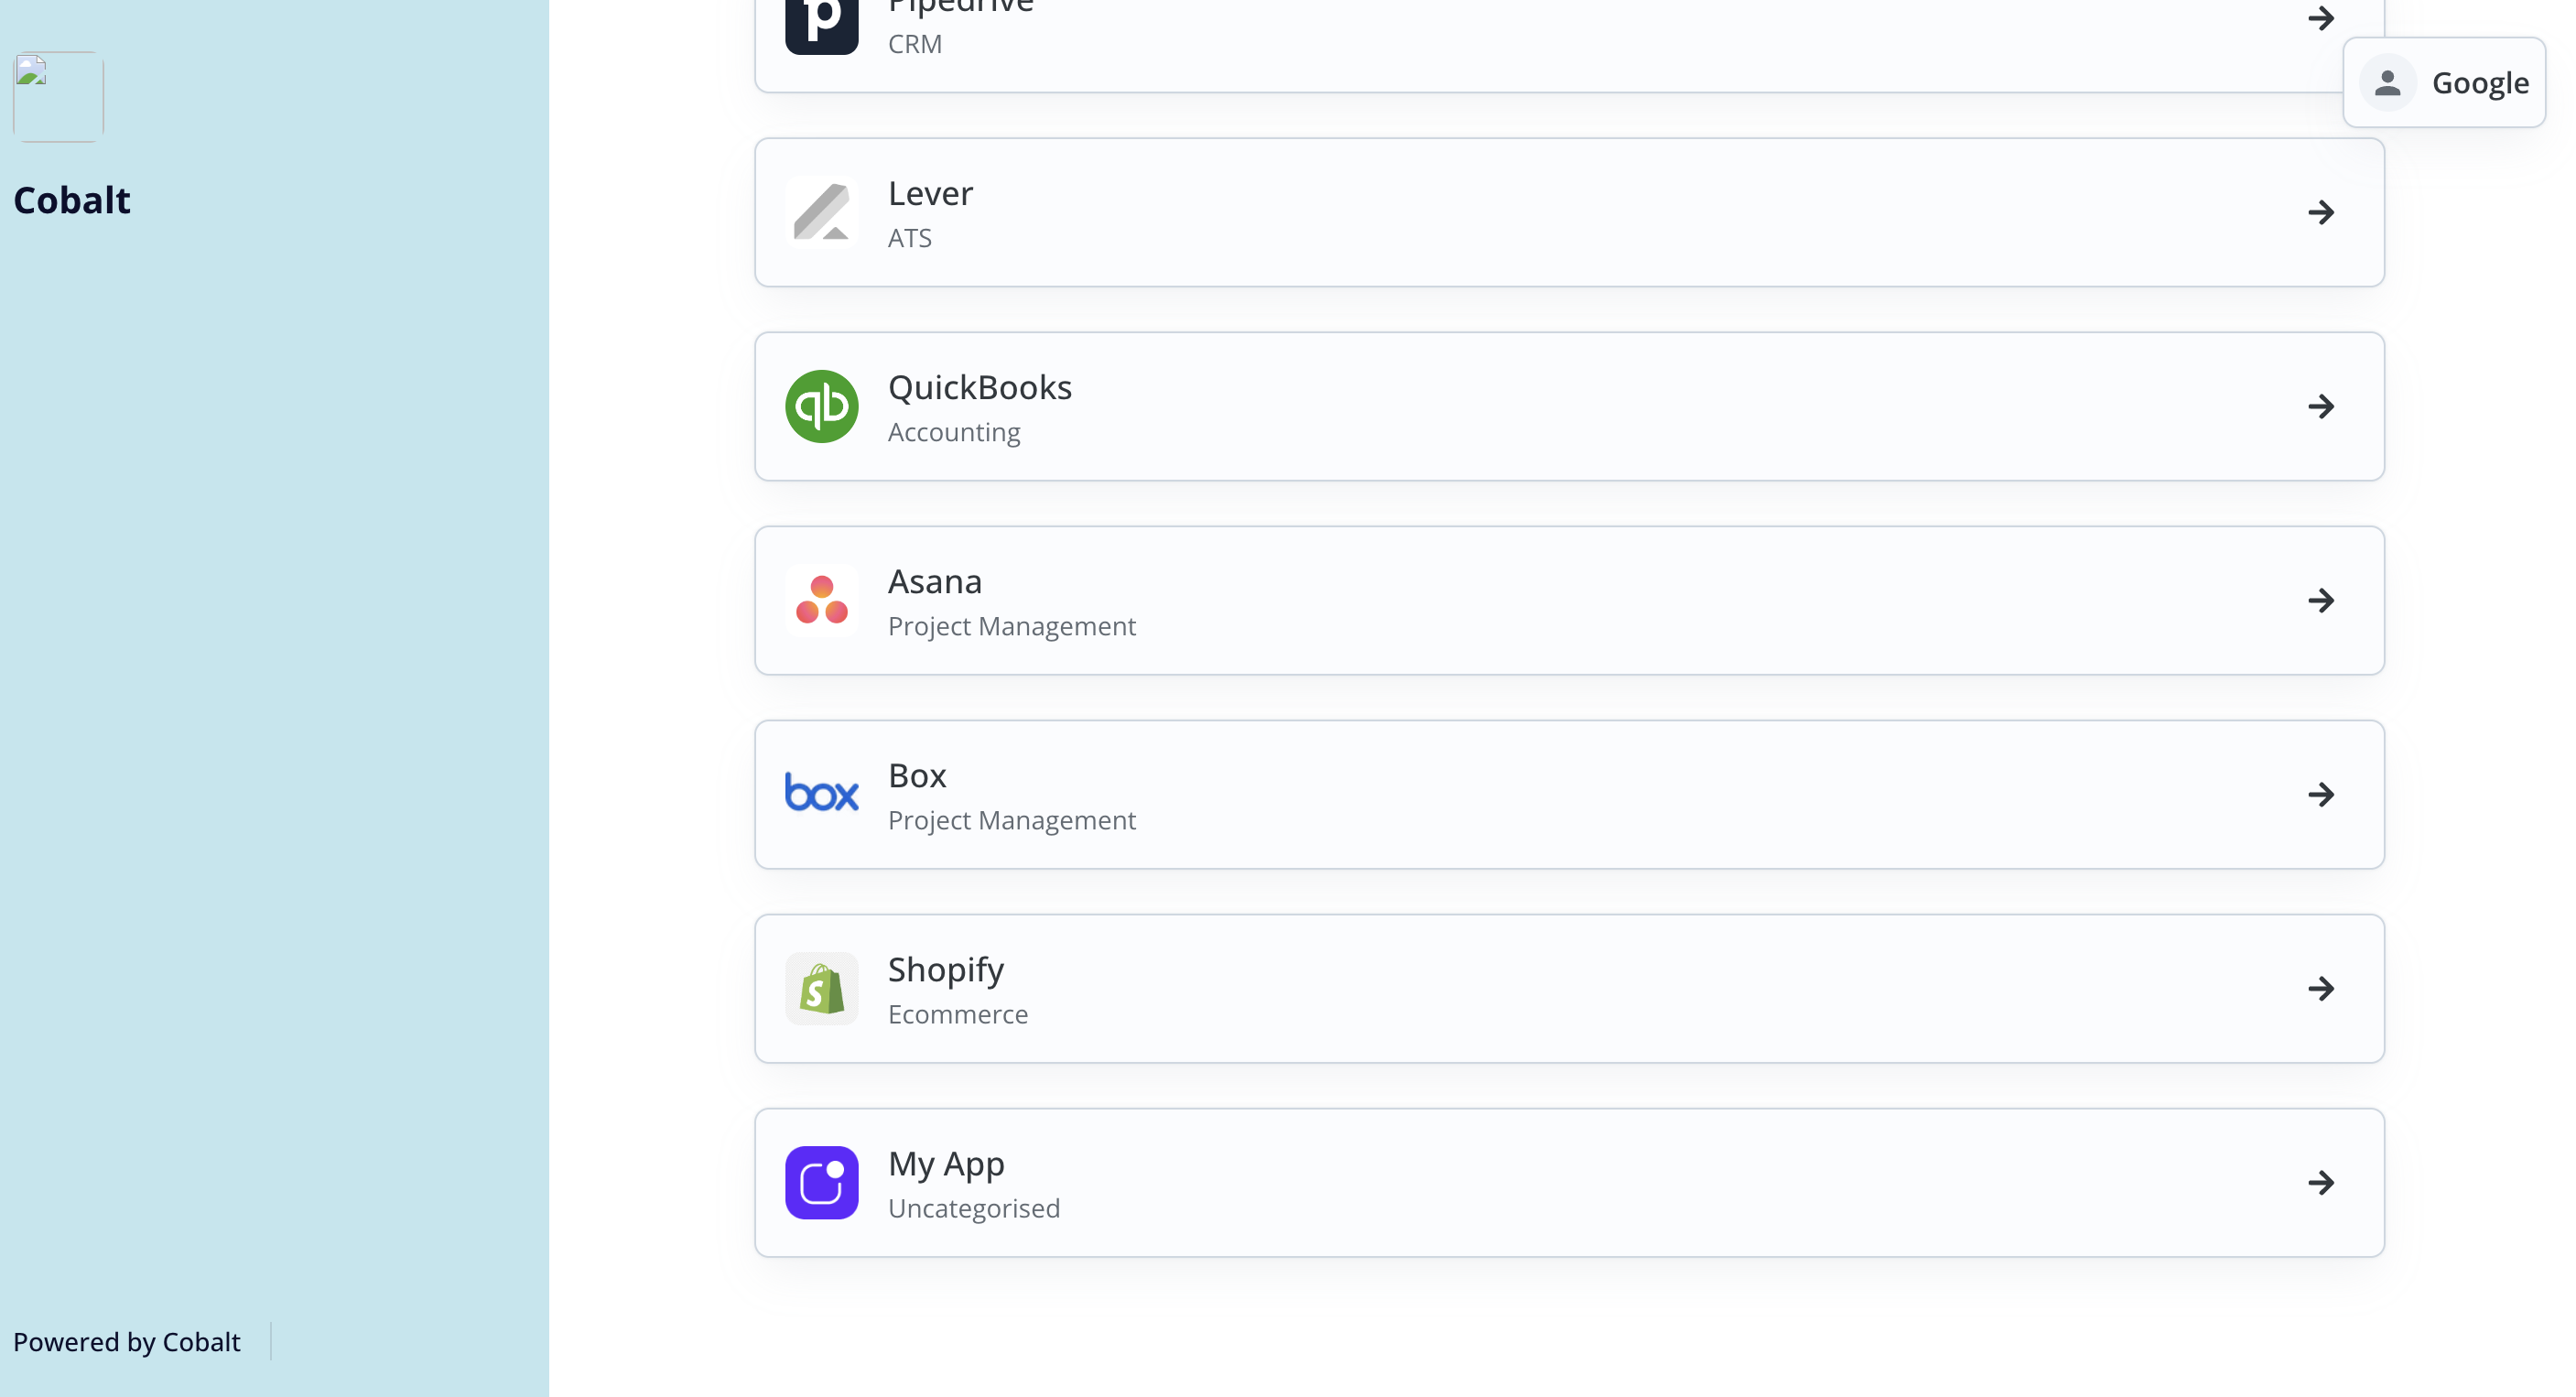
Linked Account Connecting to Custom App
Once your custom app is set up and authenticated, a Linked Account can connect to the Custom App just like any other integration available in Refold. Depending on the Authorization method configured, the Linked Account will be required to follow different steps to connect.