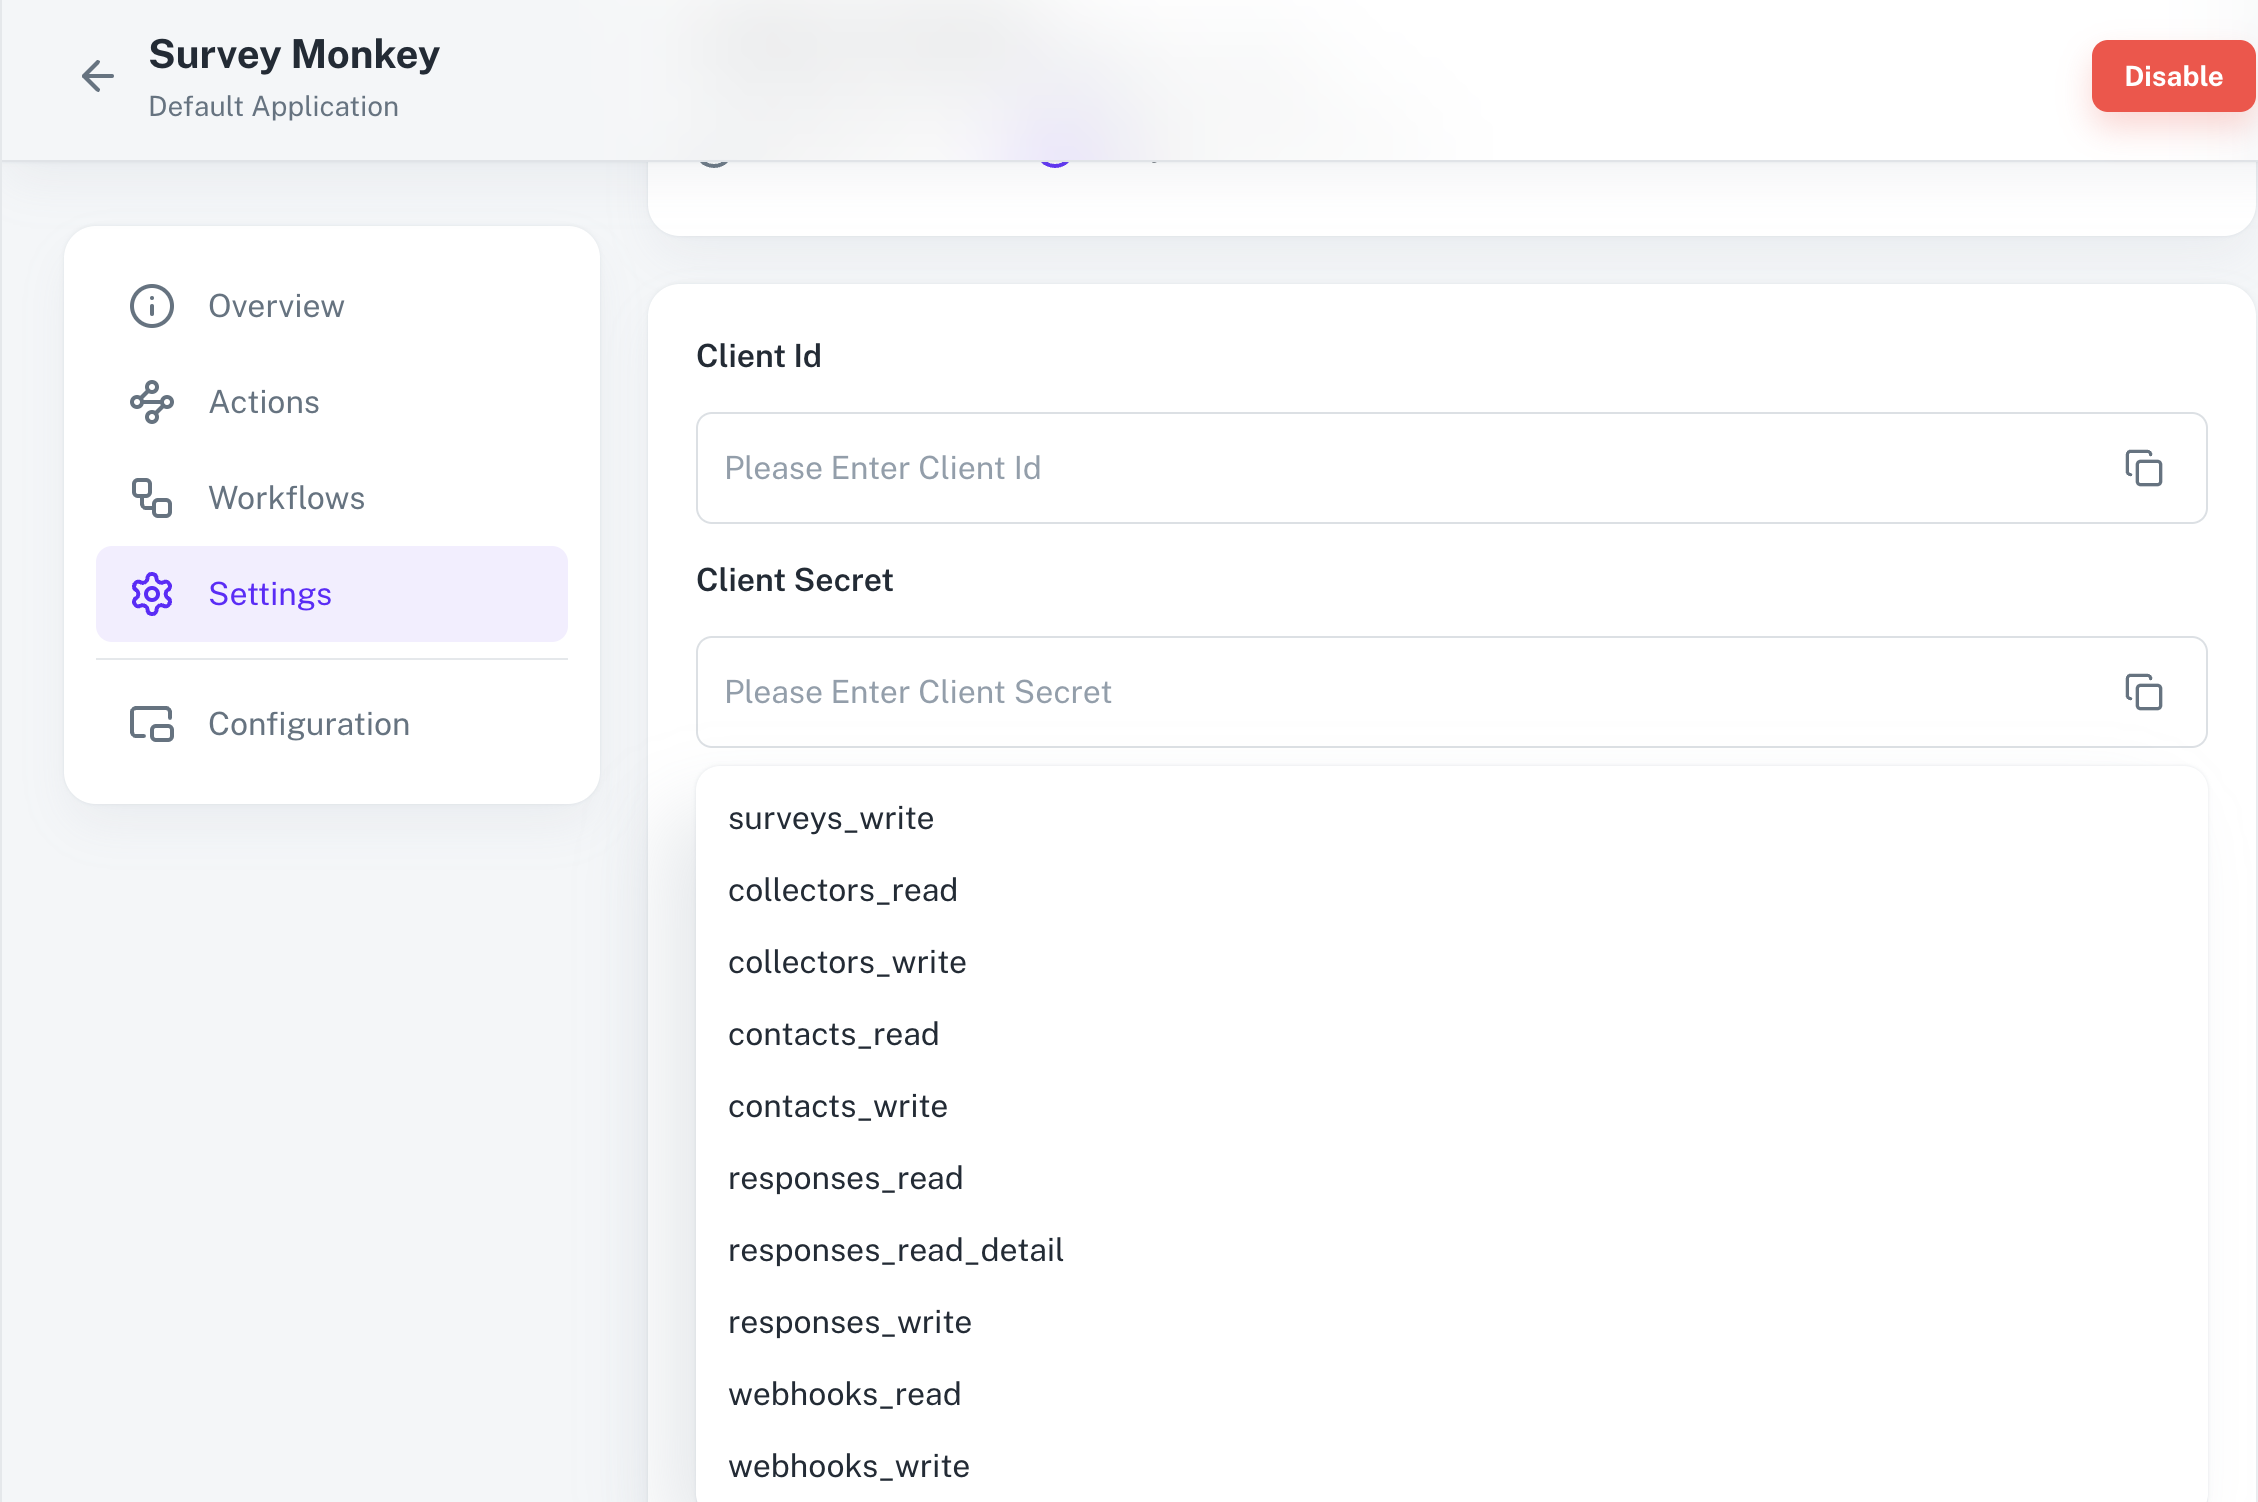
- Client ID
- Client Secret
- Scopes
Pre-requisites
- SurveyMonkey Developer account. You can create one here.
Required Settings
- Mandatory Scopes
- surveys_read
- users_read
If you haven’t already created an app in SurveyMonkey, you’d need to create one.
Creating an app in SurveyMonkey
To create a SurveyMonkey app and acquire the above mentioned credentials, please follow the steps mentioned below:- Log in to your Survey Monkey Developer account.
- Click on the
My Appsoption in the top nav bar.
- Click on
Add a New Appbutton in the right. - Enter the
App NicknameandApp Creatoremail > Select anApp Typeas Public or Private depending on your requirements and clickCreate App.
Public App needs to be submitted for review before SurveyMonkey users outside your organization can use it. Learn more about App Type here.
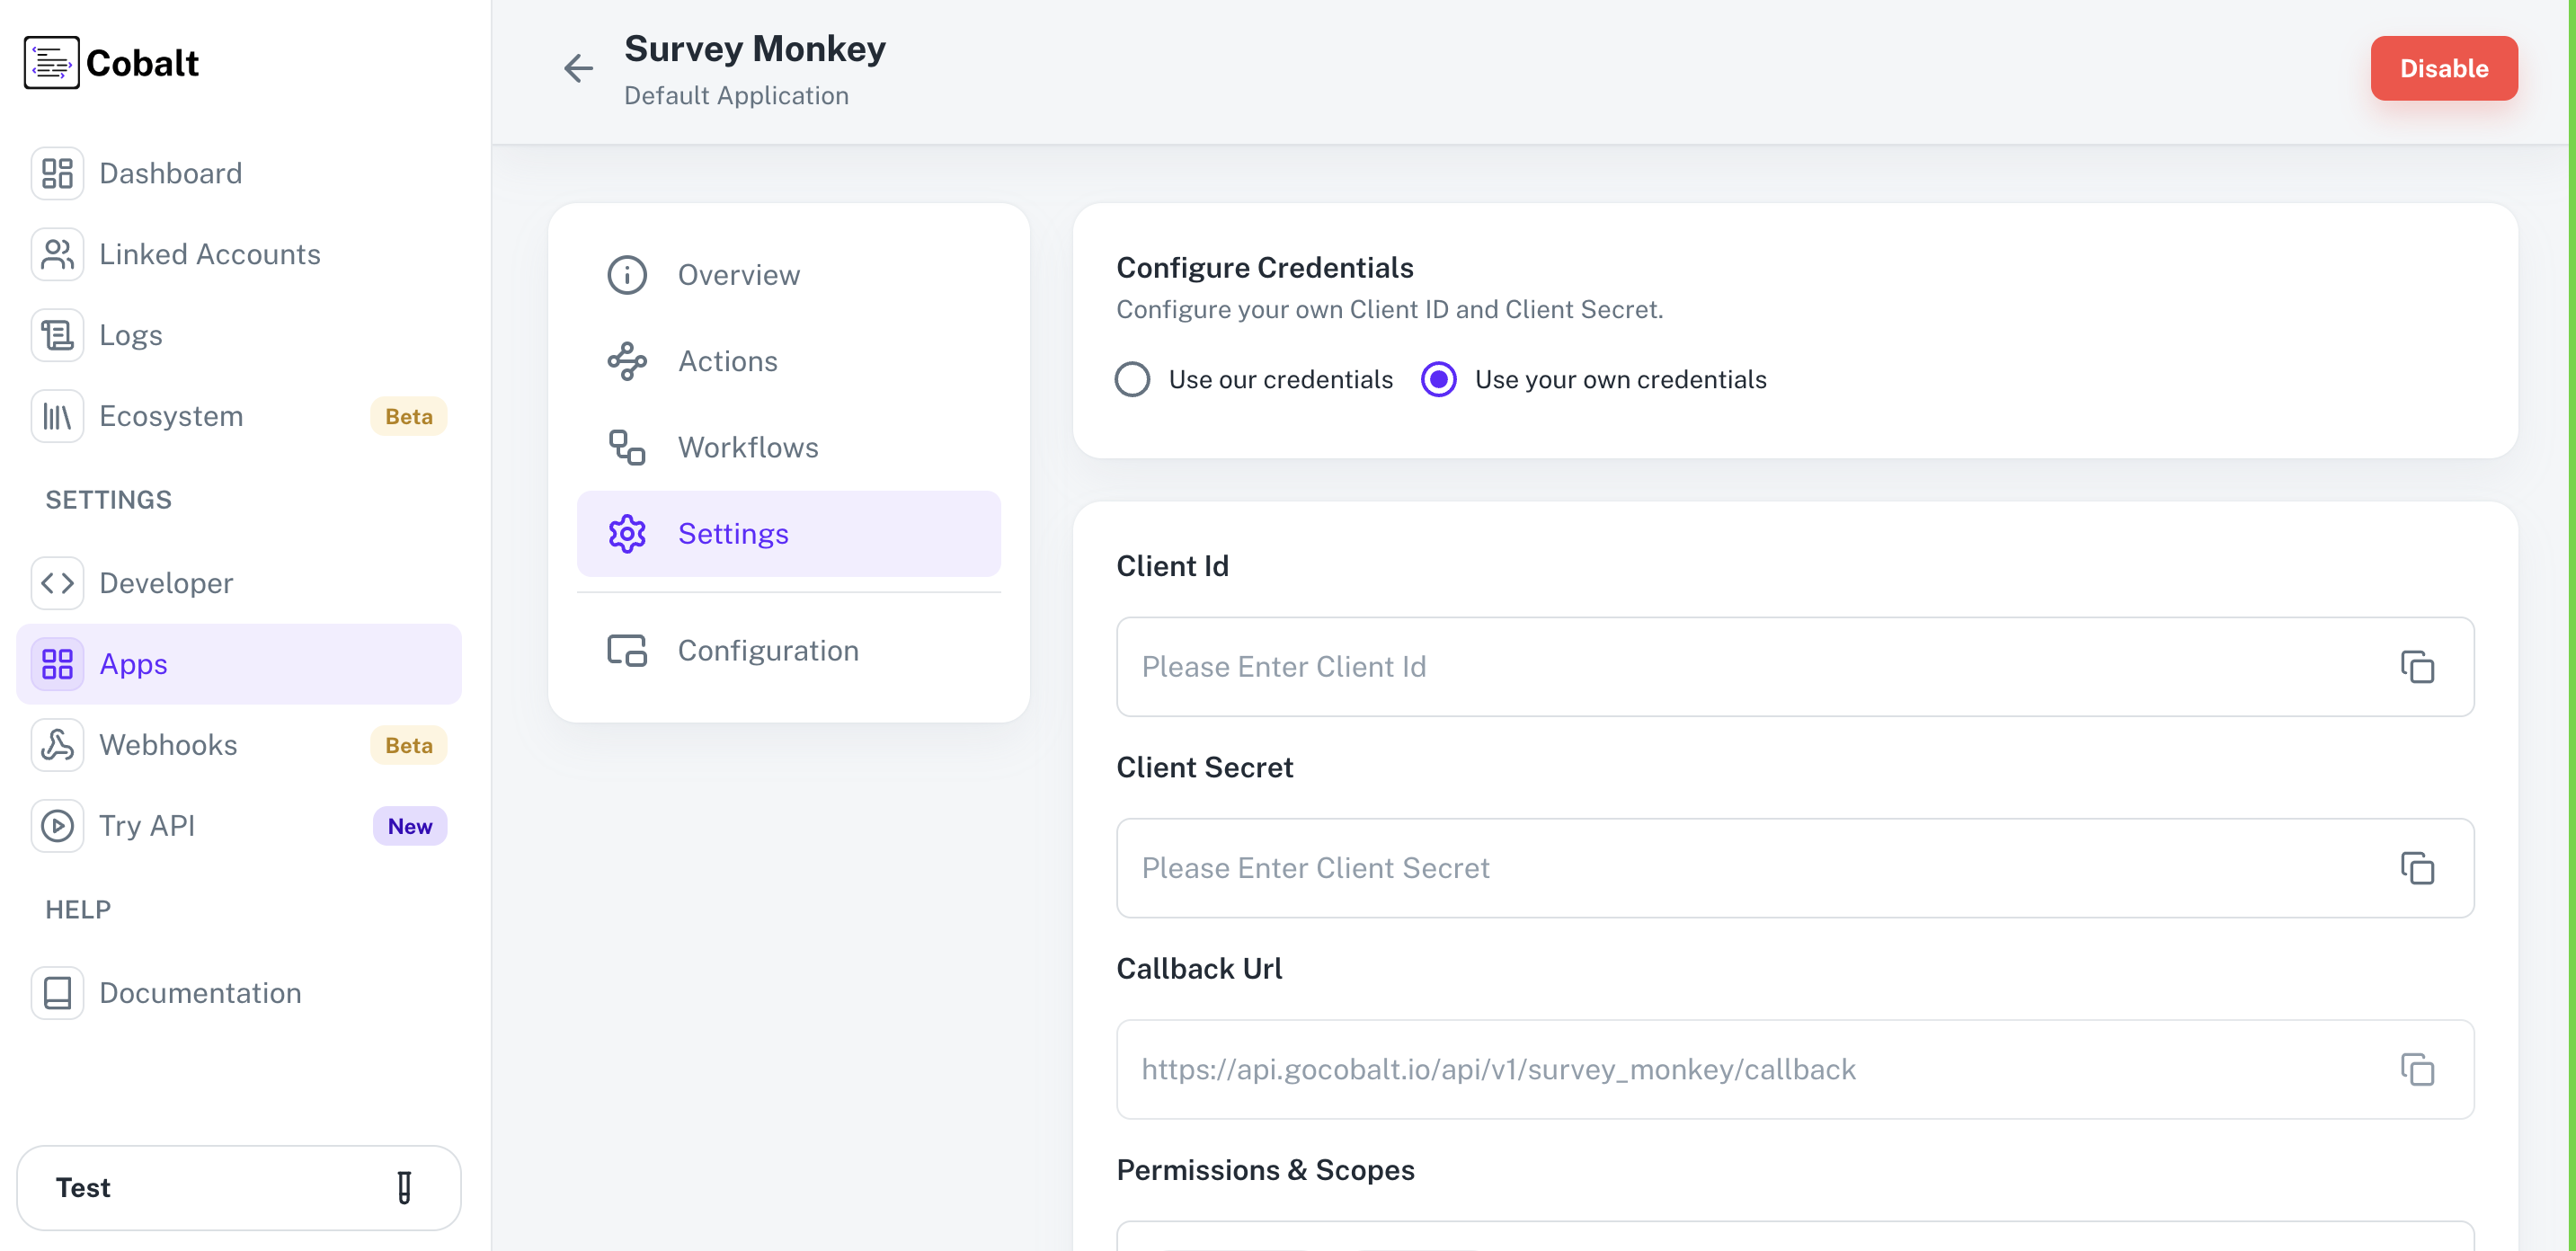
- Go to your
Apps catalogin Cobalt > Search forSurvey Monkey>Settings>Use your credentials>Callback Url> Copy it. - Go to
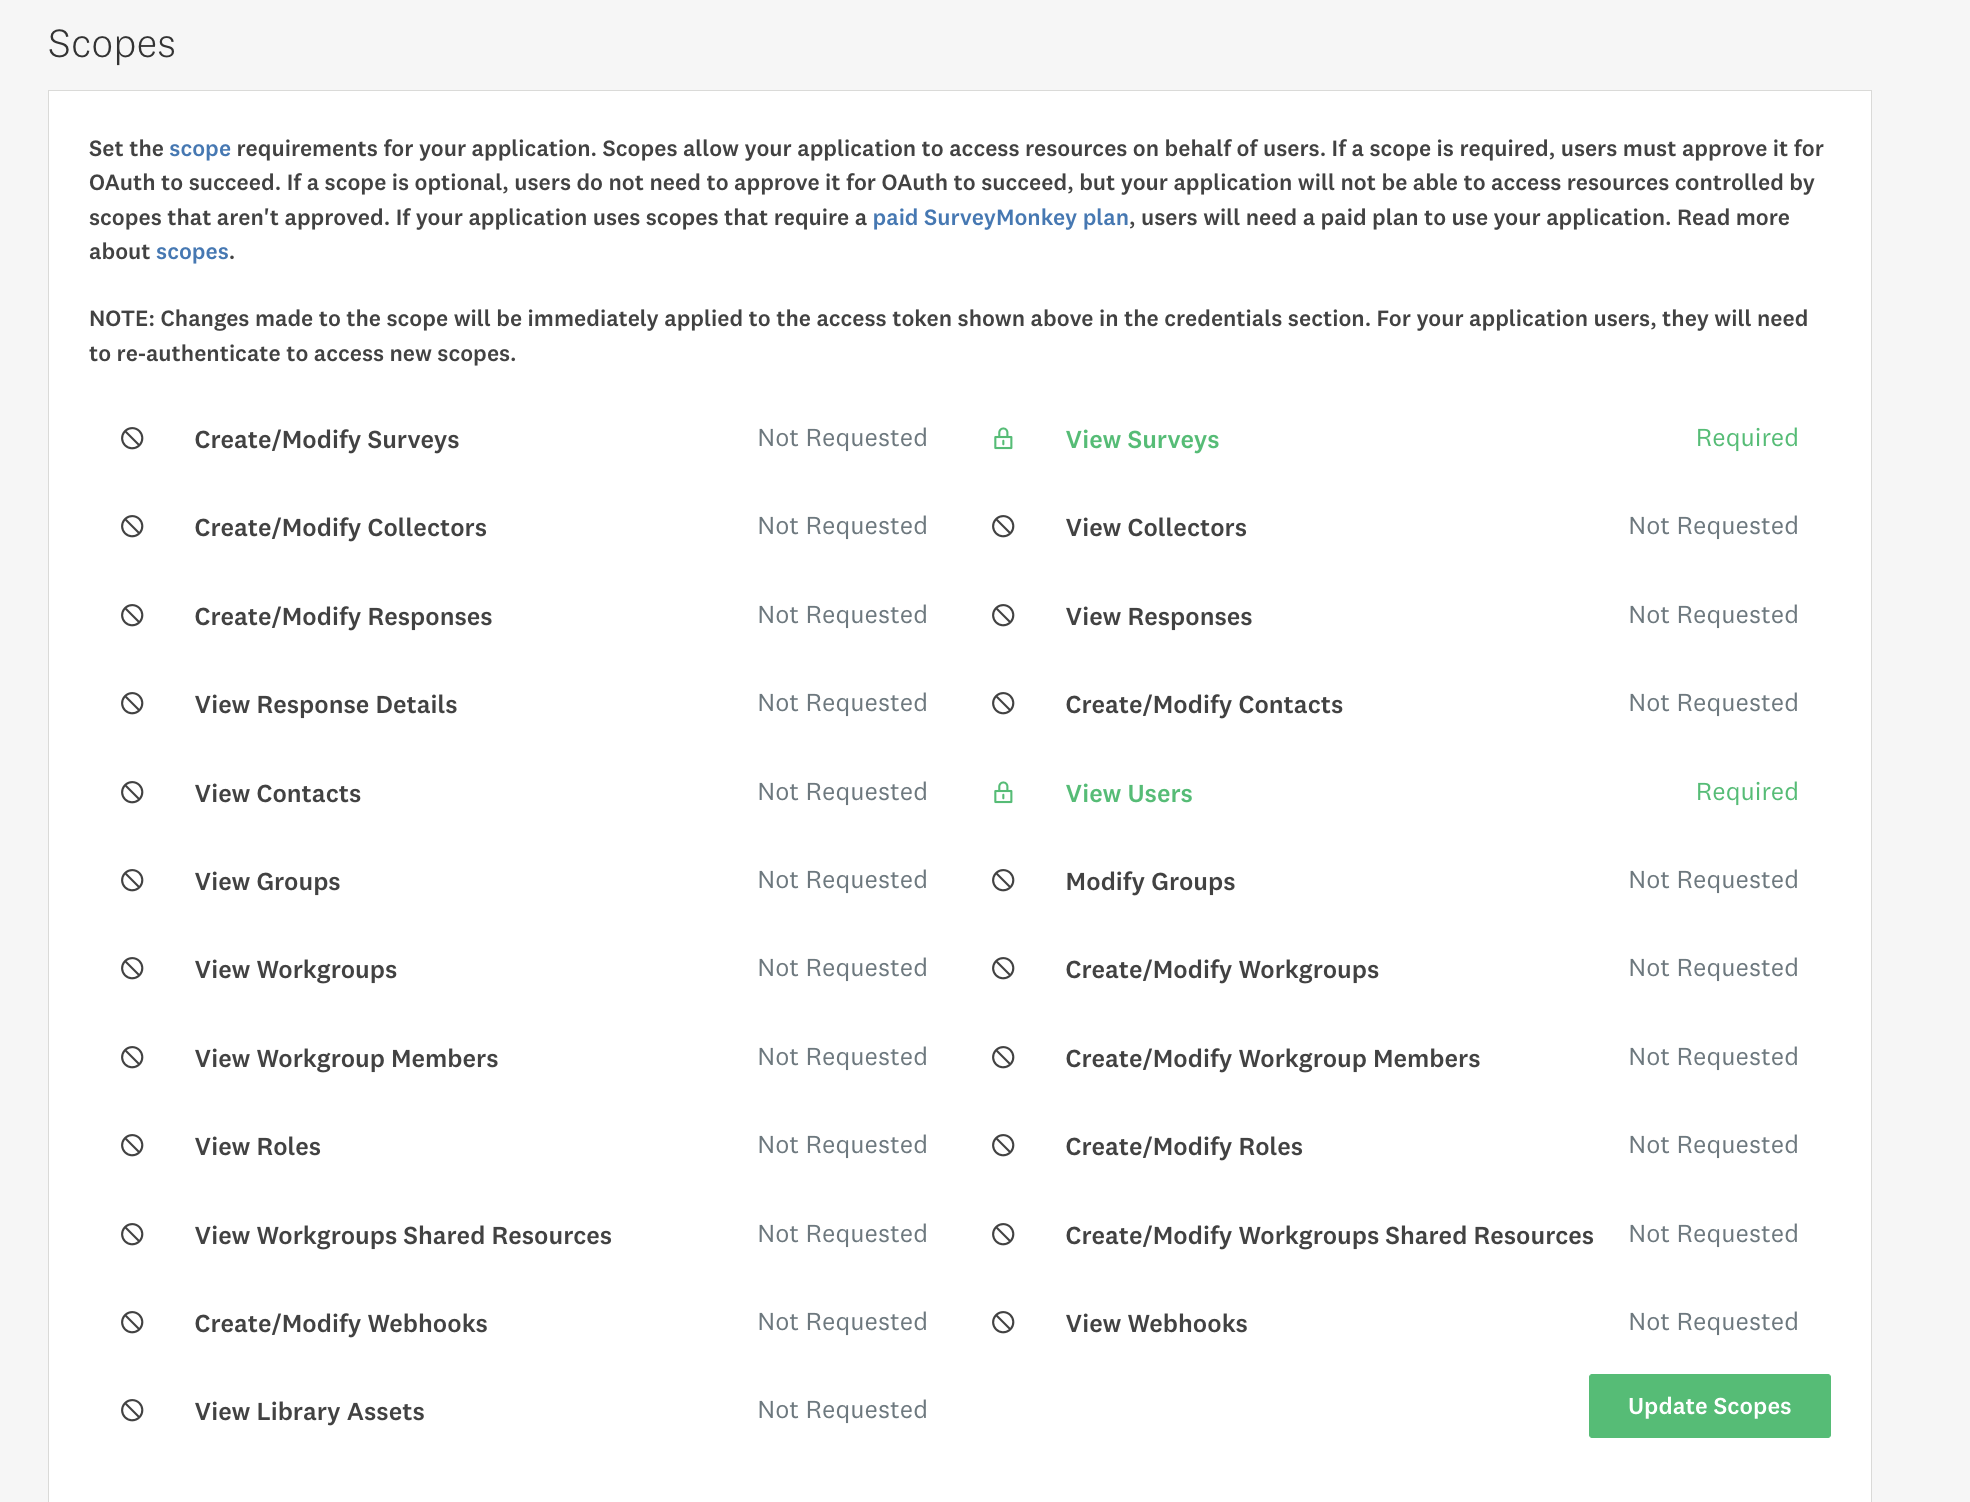
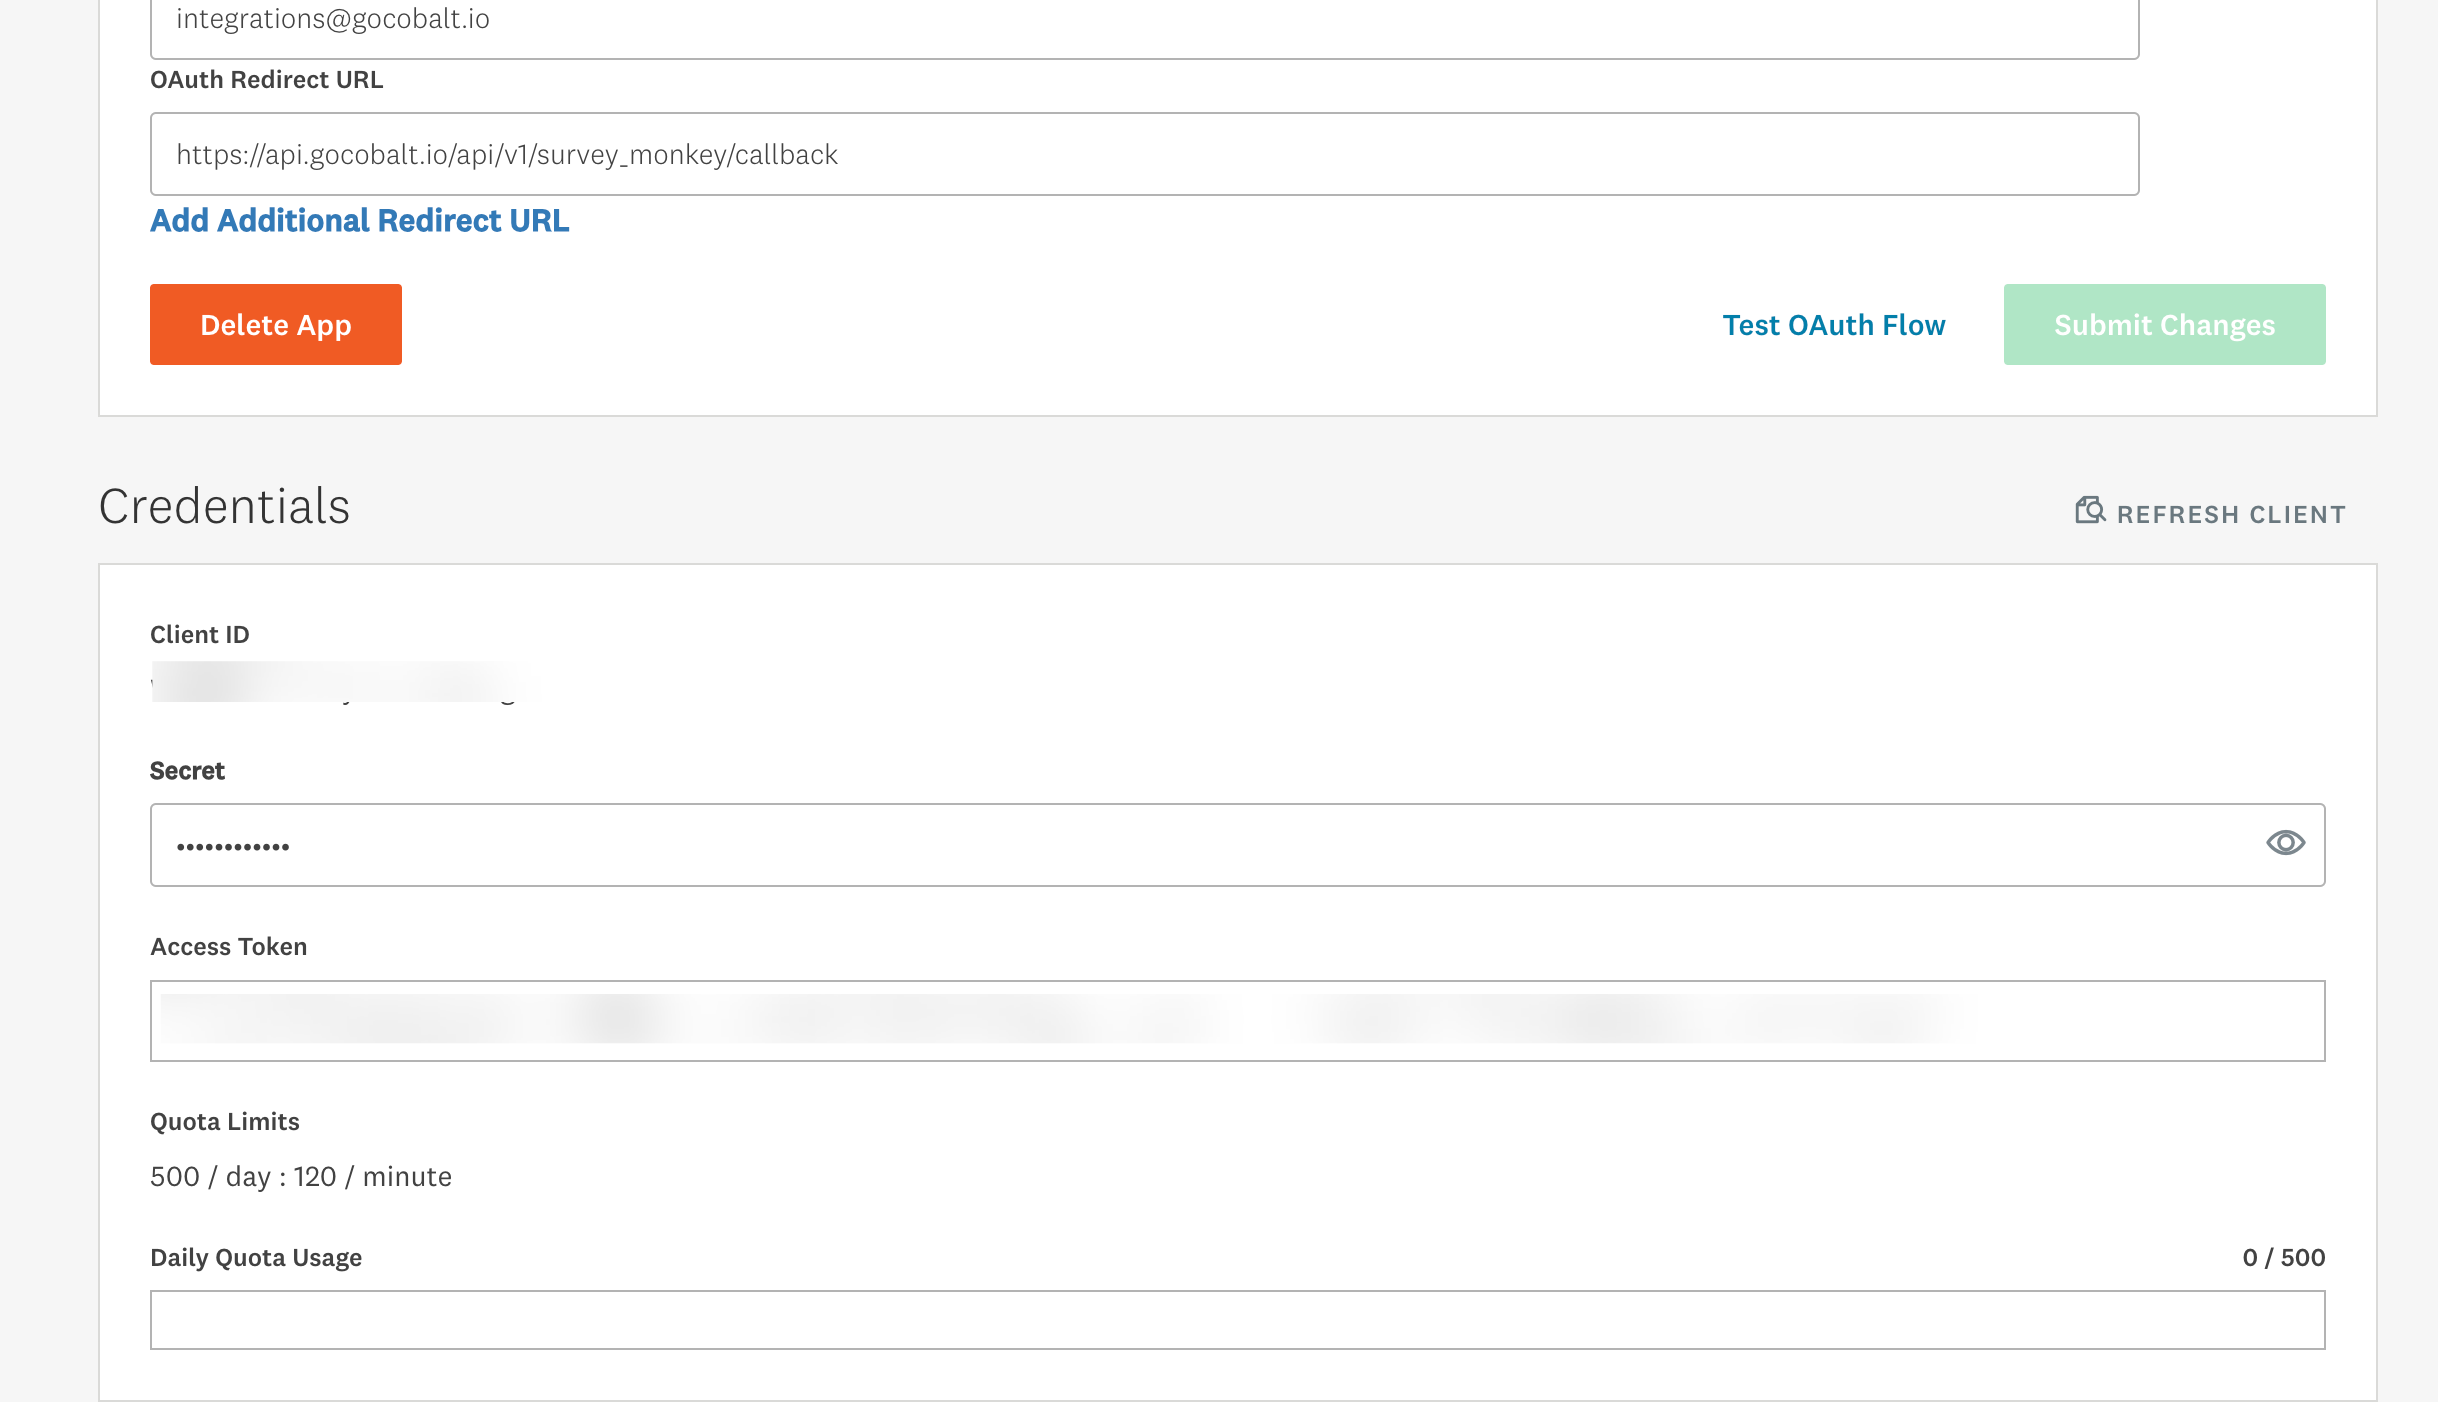
Settingsin the OAuth app, paste the Callback Url underOAuth Redirect URLand click onSubmit Changes. - Scroll down to the Scopes section, select and mark the mandatory scopes provided in your Cobalt Survey Monkey settings page as Required and click on the
Update Scopesbutton.
- Scroll to the Credentials section and copy the Client ID and Secret.
Configuring credentials in Cobalt
App settings page lets you configure the authentication settings for anOAuth 2.0 based application. For your customers to provide you authorization to access their data,
they would first need to install your application. This page lets you set up your application credentials.
Configuring Scopes
Cobalt lets you configure what permissions to ask from your users while they install your application. The scopes can be added or removed from the App settings page, underPermissions & Scopes
section.
For some applications Cobalt sets mandatory scopes which cannot be removed. Additional scopes can be selected from the drop down. Cobalt also has the provision to add any
custom scopes supported by the respective platform.
Scopes under Settings > Add the scopes as added in Cobalt > Click on Update Scopes.