- Client ID
- Client Secret
- Scopes
Pre-requisites
- Calendly Developer account. You can create one here.
If you haven’t already created an app in Calendly, you’d need to create one.
Creating an app in Calendly
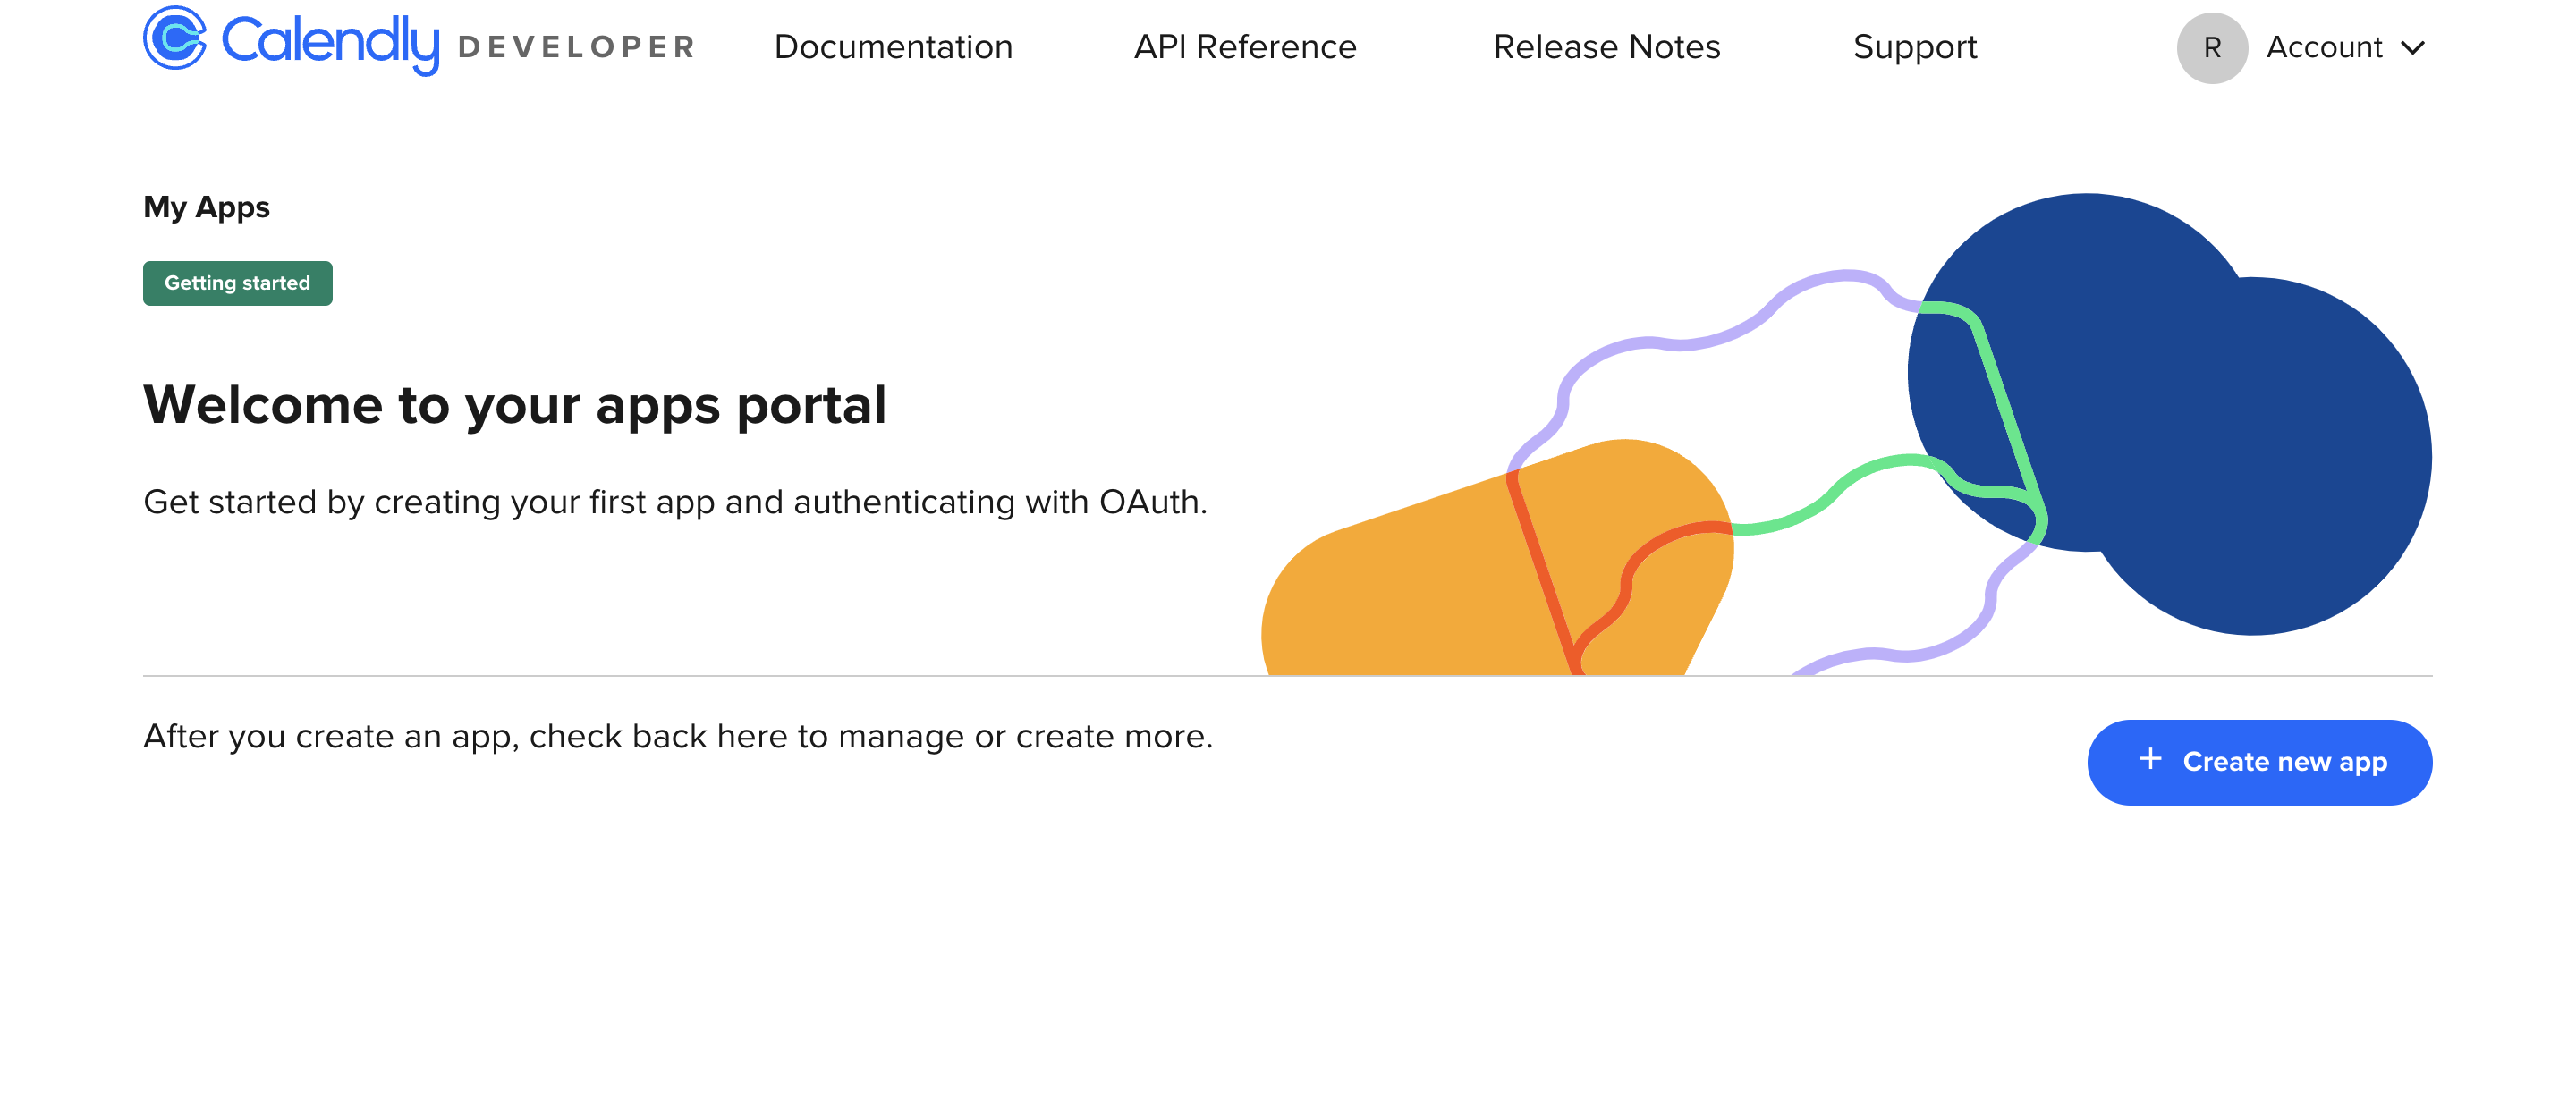
To create a Calendly app and acquire the above mentioned credentials, please follow the steps mentioned below:- Log in to your Calendly Developer Portal.
- Click on the
Profileicon in the top right, selectMy Appsand click on the+ Create new appbutton.
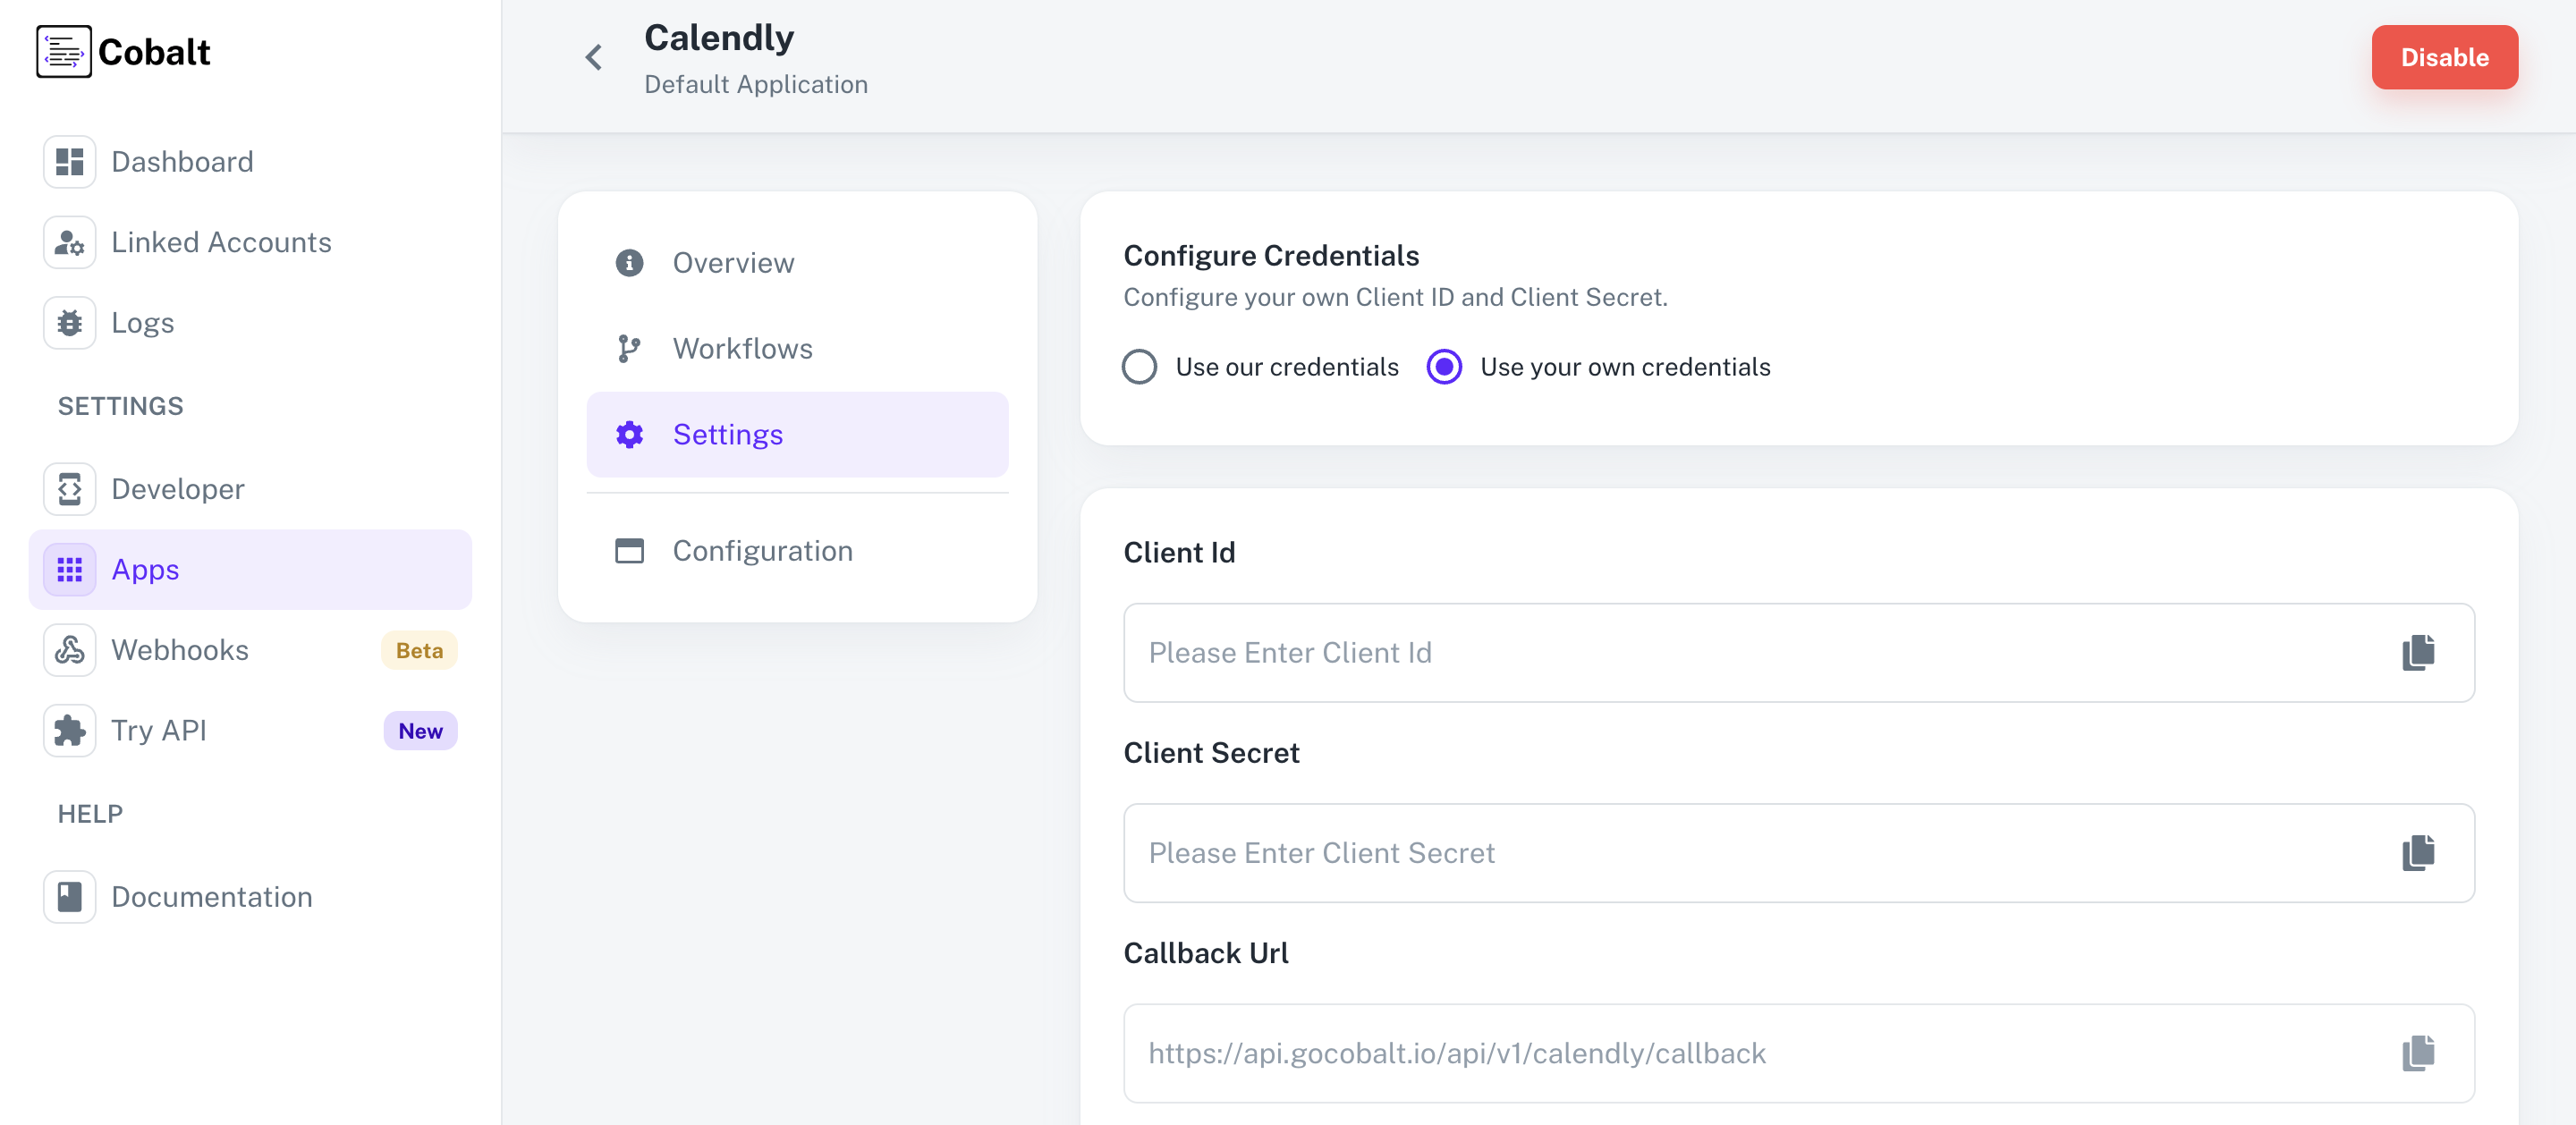
- Go to your
Apps catalogin Cobalt > Search forCalendly>Settings>Use your credentials>Callback Url> Copy it. - After clicking on
+ Create new appbutton, enter the App Name, selectKind of appas Web, chooseEnvironment Type, paste the Callback Url underRedirect URIand click onSave and continue. - Copy the Client ID and Client Secret displayed.

Configuring credentials in Cobalt
App settings page lets you configure the authentication settings for anOAuth2 based application. For your customers to provide you authorization to access their data,
they would first need to install your application. This page lets you set up your application credentials.
Actions and triggers
Once the above setup is completed, you can create orchestrations of your use-cases using Calendly actions and triggers. Following are the set of Calendly actions and triggers supported by Cobalt.- Actions
- Triggers
Events
Events
- List Events - List all scheduled events in Calendly.
- Get Event - Get a scheduled event in Calendly.
- Cancel Event - Cancel a scheduled event in Calendly.
Groups
Groups
- List Groups - List all groups in Calendly.
- Get Group Relationship - Get a group relationship in Calendly.
Others
Others
- HTTP Request - Make HTTP API calls to any Calendly documented REST APIs.
- Get Current User - Get the current user’s details in Calendly.