Consider a use-case where you want to create a contact present in your system to Salesforce. This workflow will be fired when you send an Event with the payload of the contact to be added. In the Salesforce integration, go toDocumentation Index
Fetch the complete documentation index at: https://docs.refold.ai/llms.txt
Use this file to discover all available pages before exploring further.
Workflows and create a new workflow by clicking on +Add Workflow button and name it as Create New Contact.
Building Workflow
Follow the steps given to build the workflow:Add Trigger in Start Node
All workflows start with a trigger, which determines when the workflow will run and how data is passed into the workflow.
For this workflow we will use the Event Based trigger.Click on the 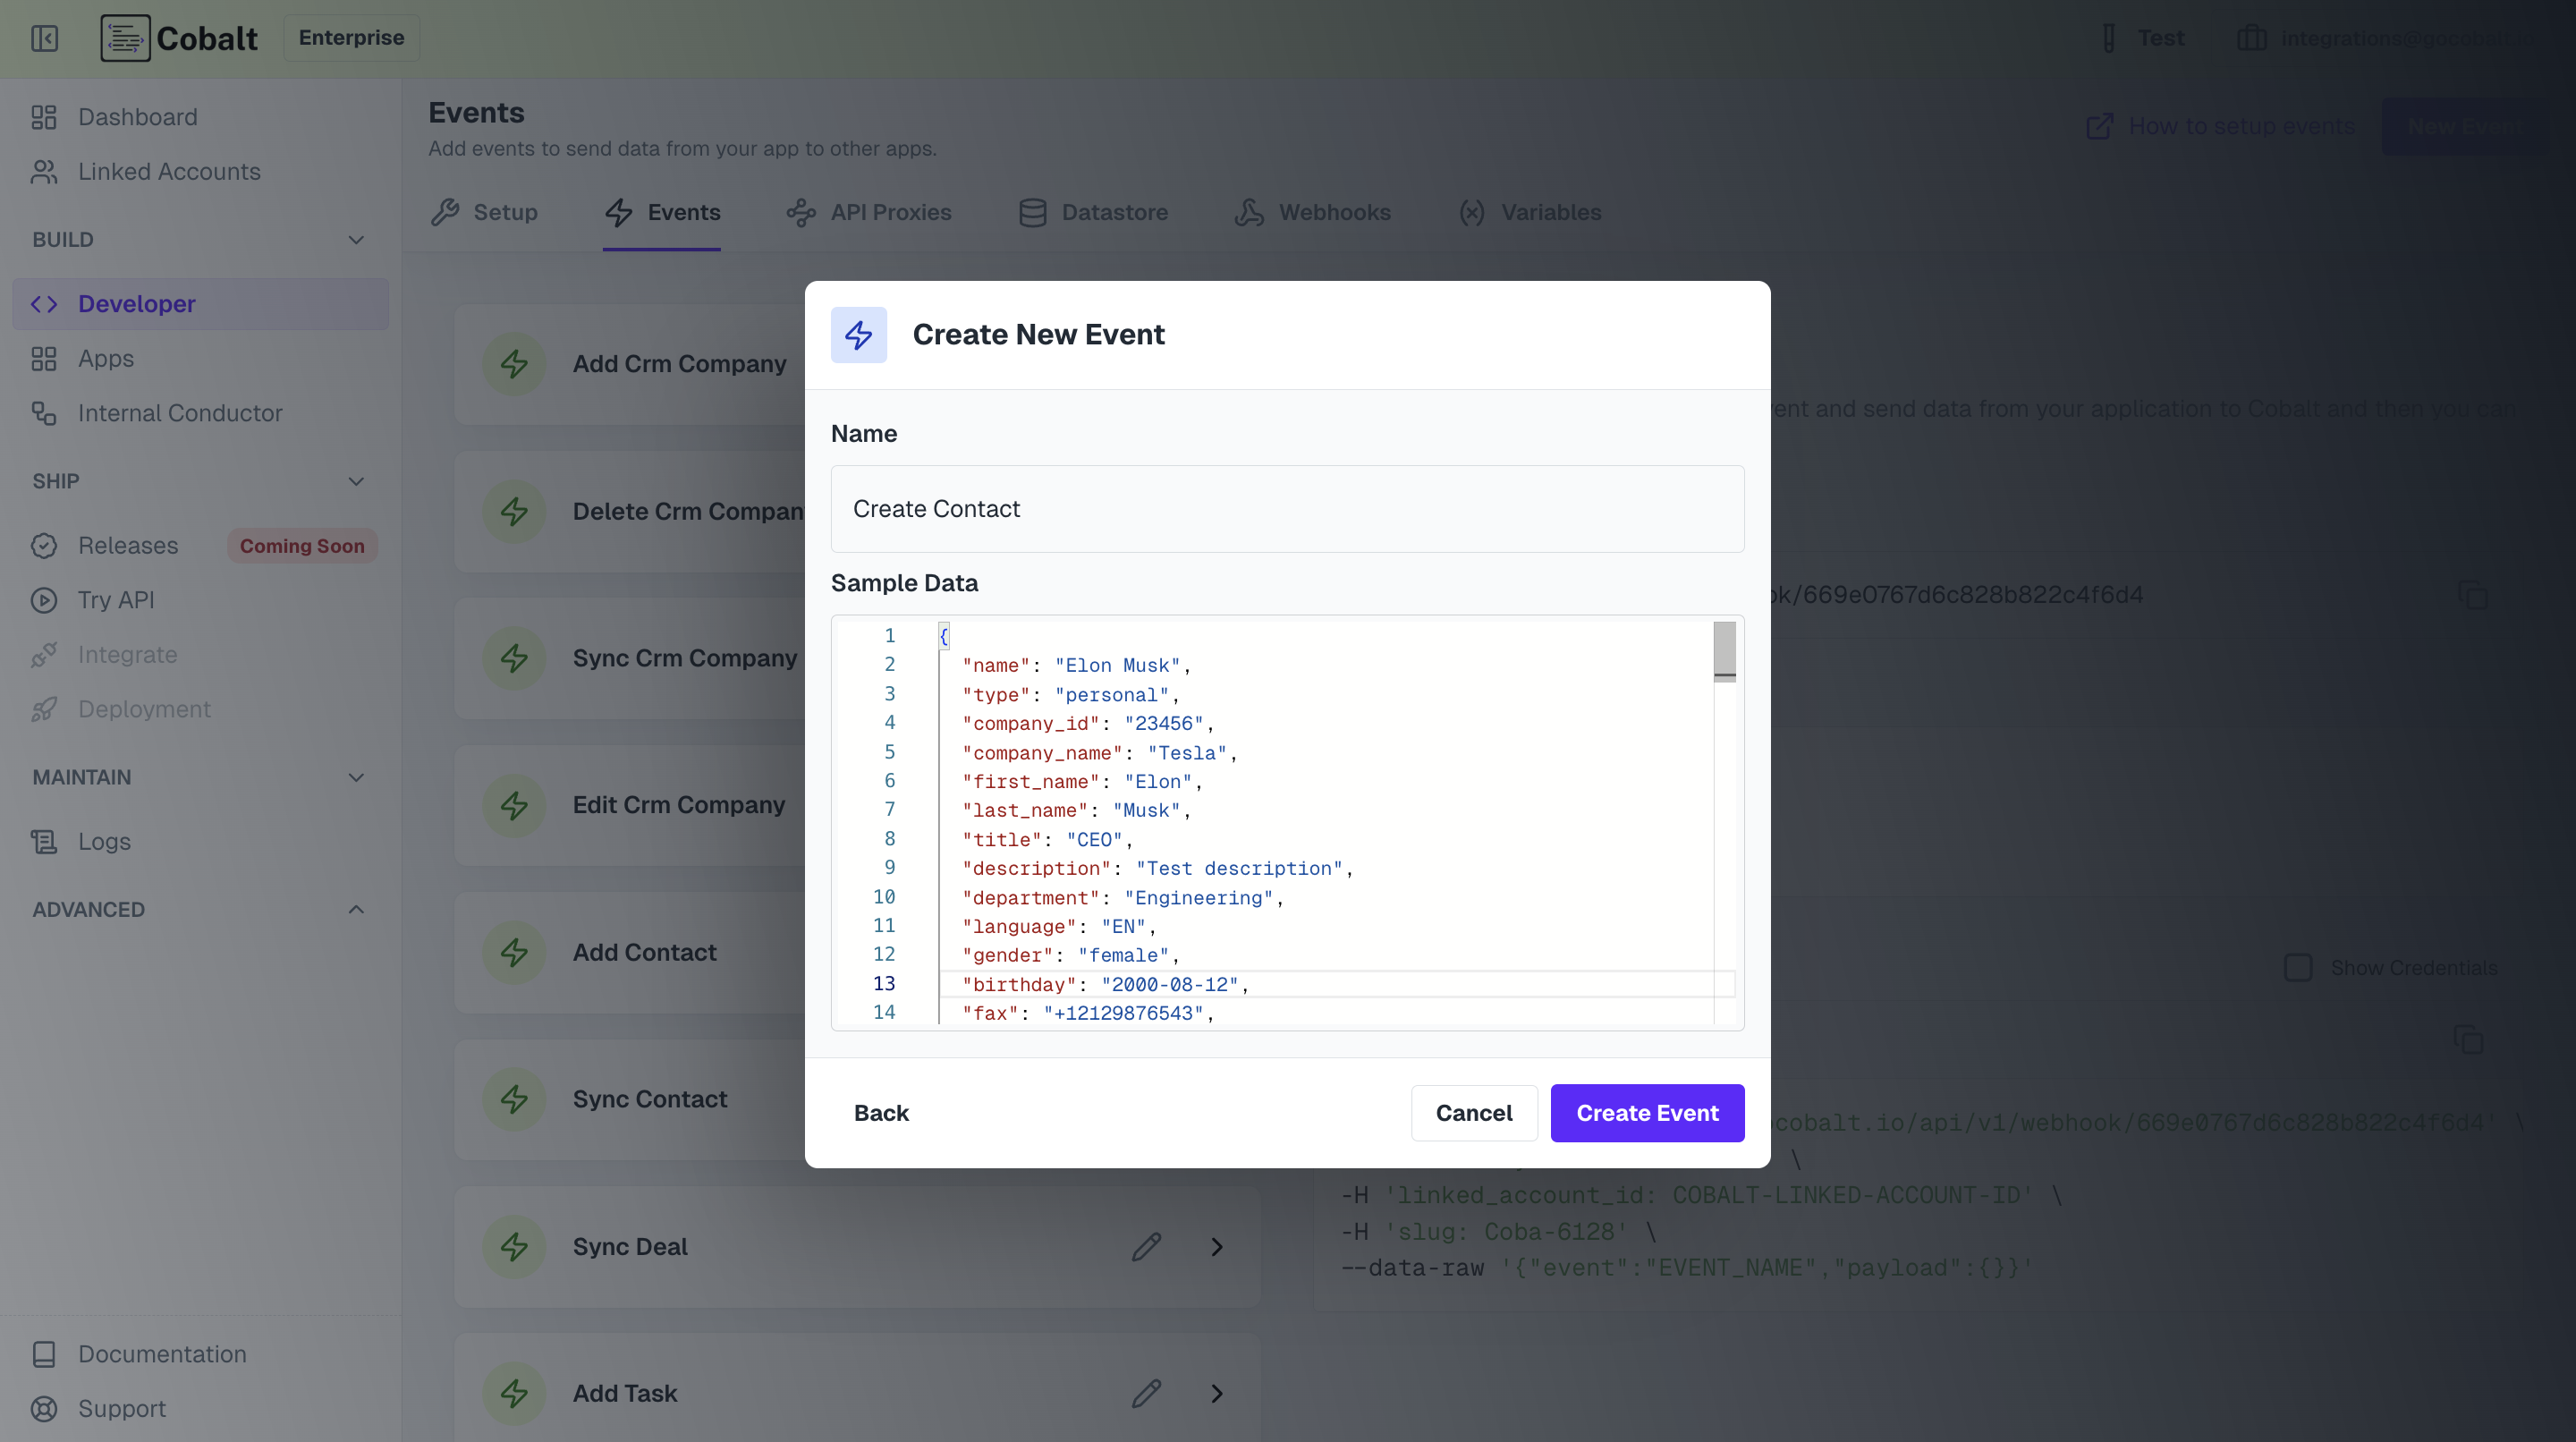
Start Node, select your native app option and click on + Create New Event.Add Salesforce Node
Now to create a new contact in Salesforce, we need to call Salesforce API.Click on
Nodes option in the top right and drag the Salesforce Node from Native Apps section to the workflow builder. Connect this node with Start Node.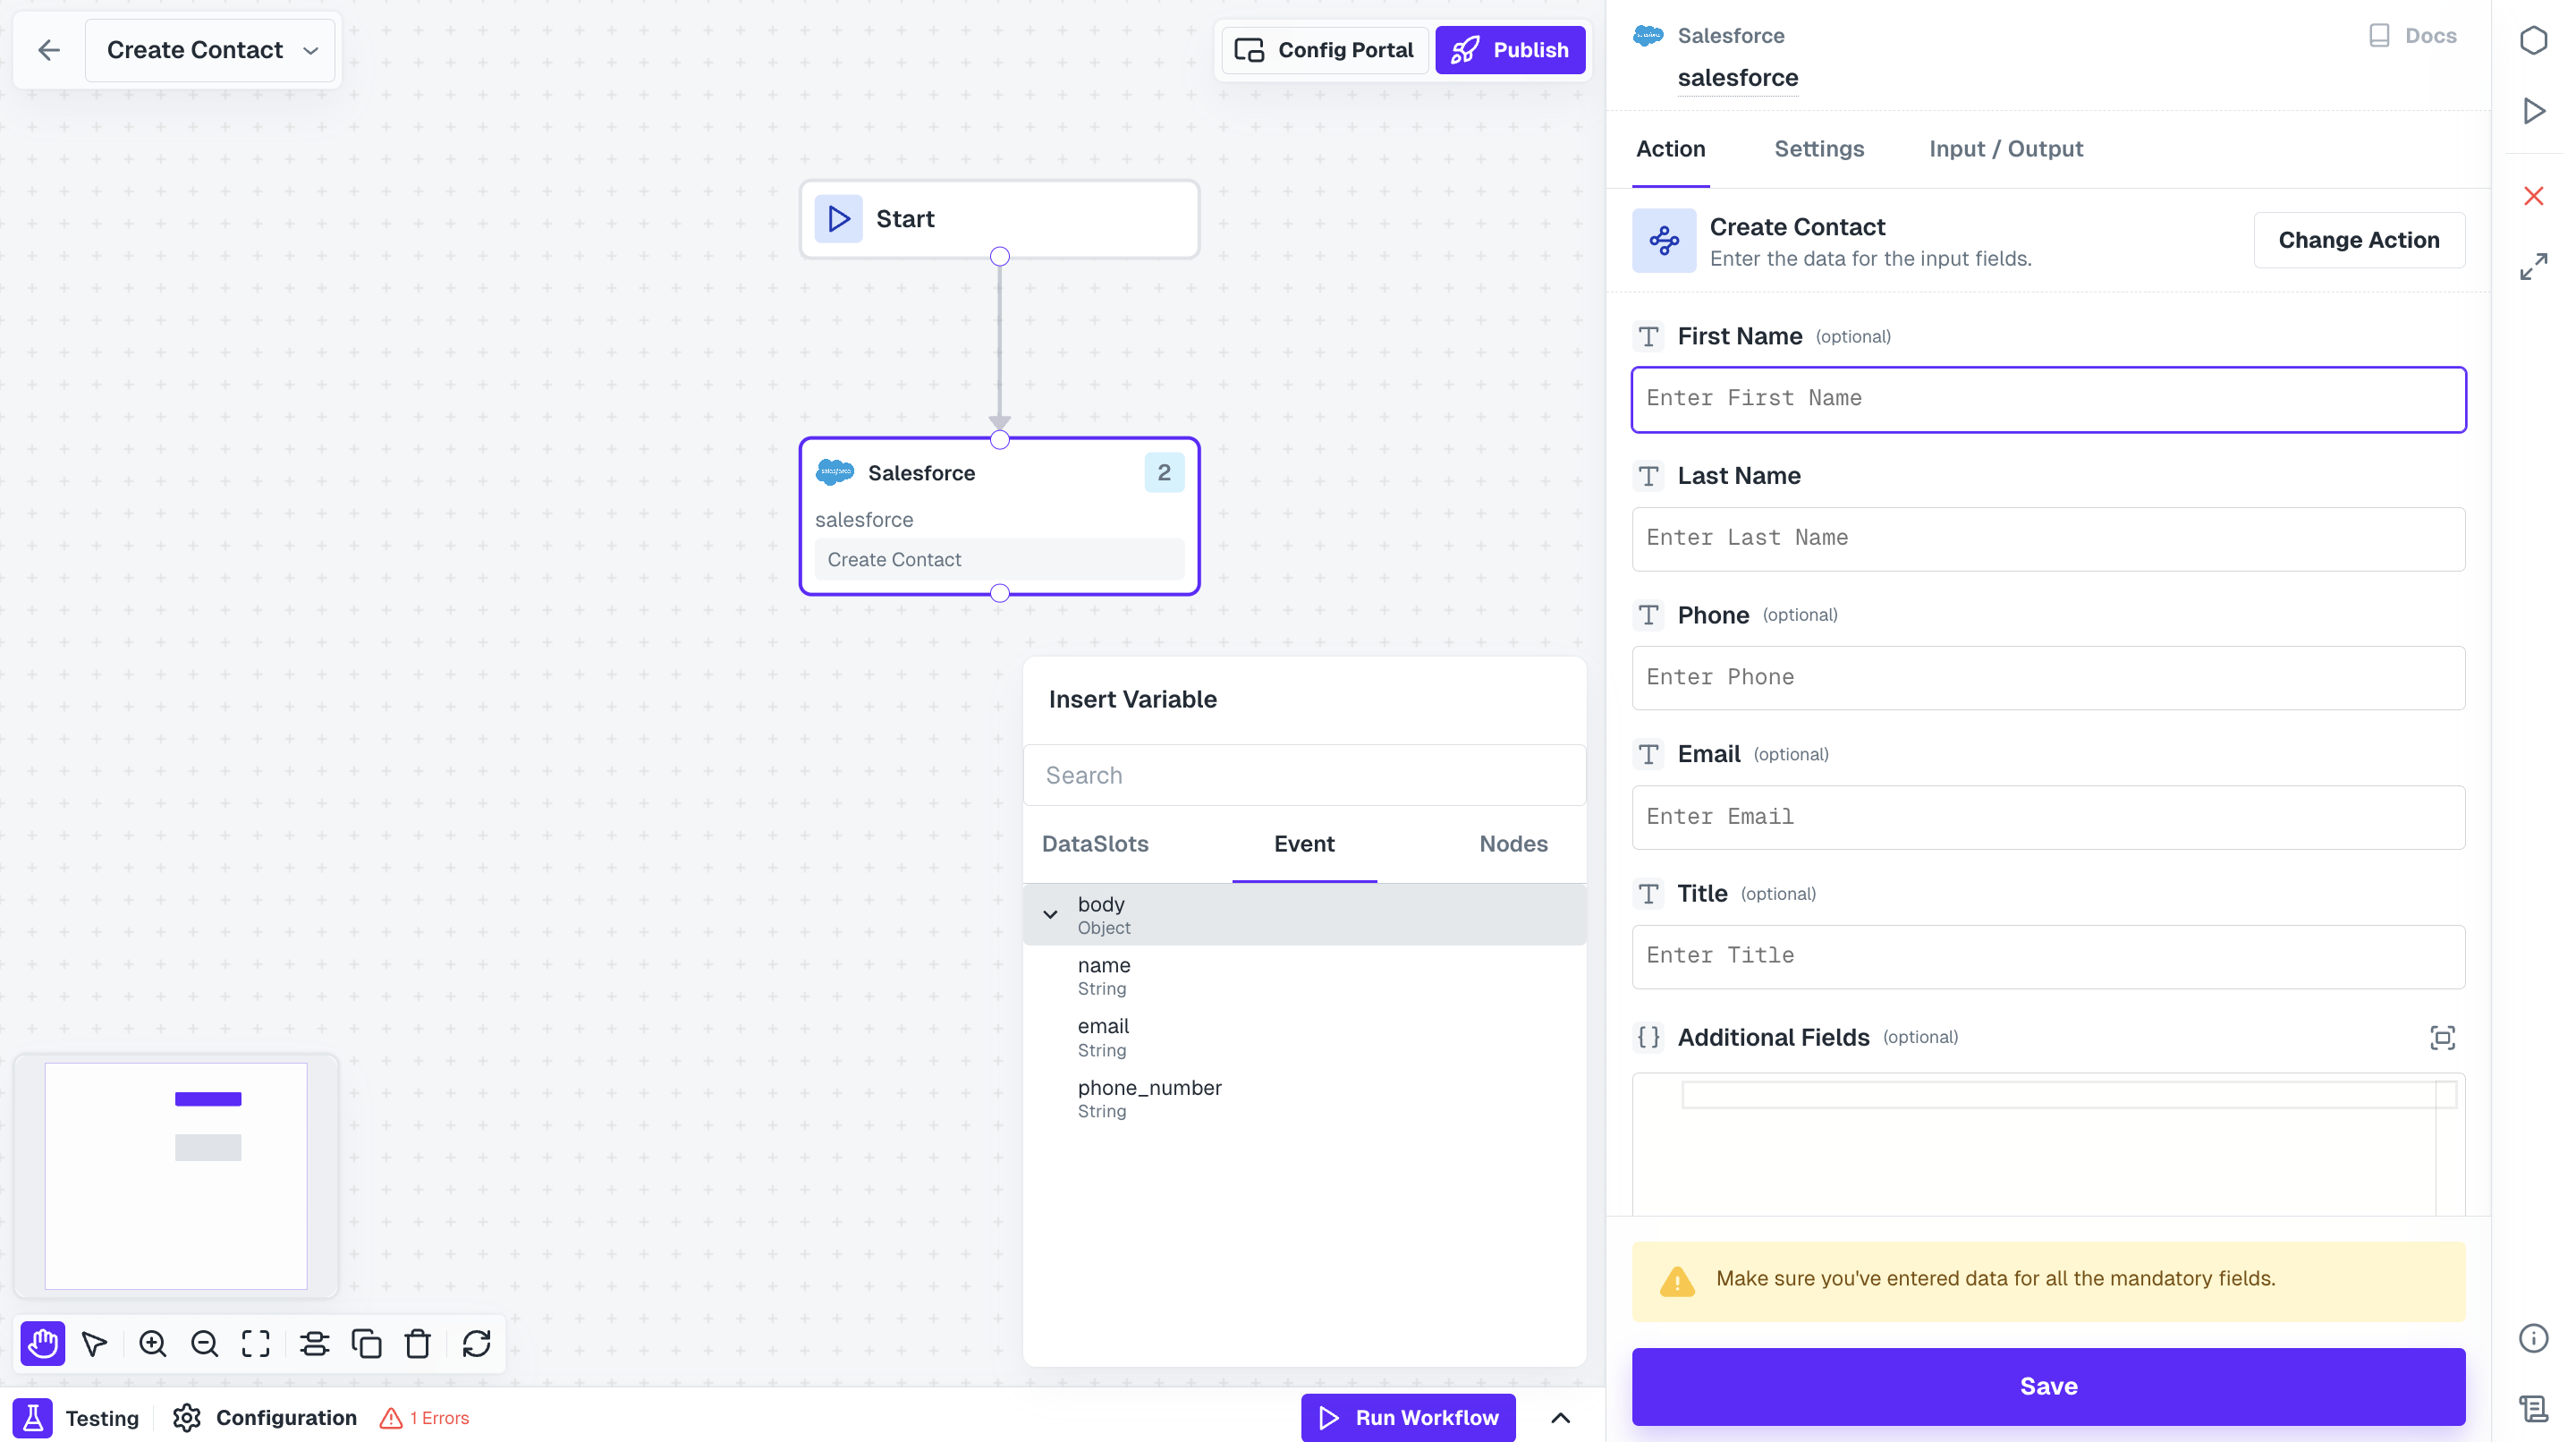
Test Workflow
Once your workflow is built, you can perform both node level and workflow level testing to check it. Before testing a workflow, ensure the following pre-requisites are completed:- Linked Account configured with authentication completed with the integration.
- Sample Payload for testing is available & configured.
Testing Node
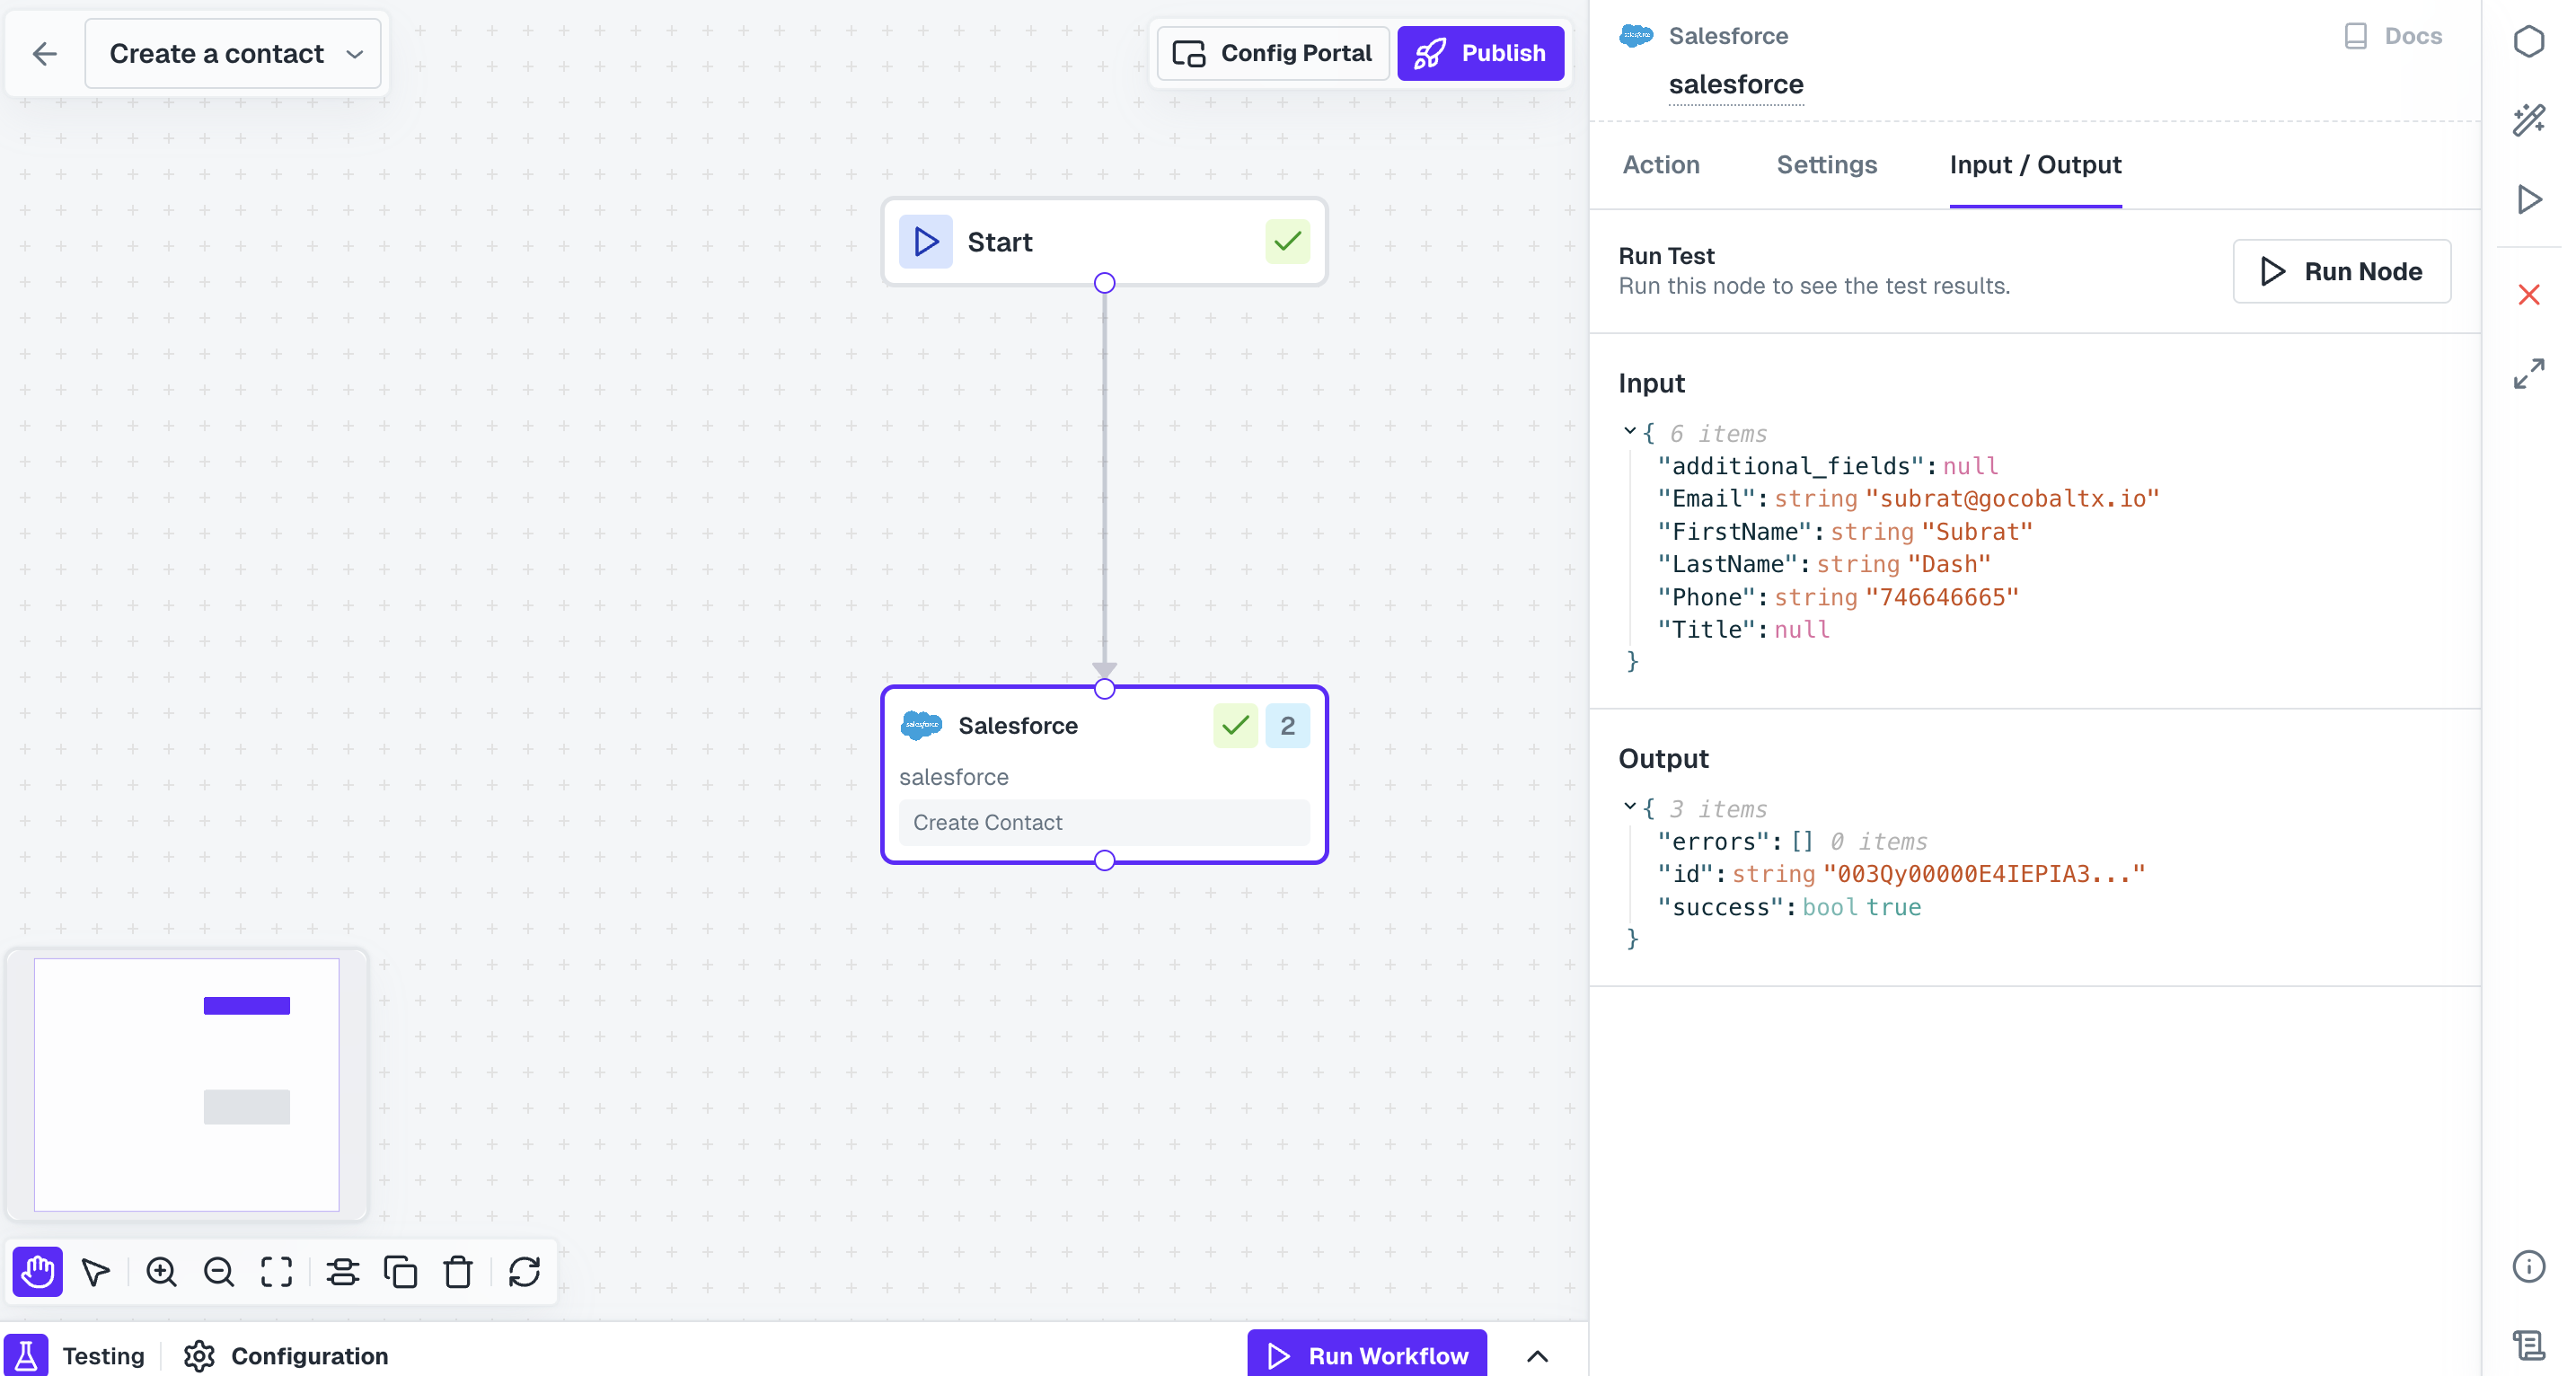
Once the node executes successfully, a checkmark appears on the node, indicating it has been tested.
Testing Entire Workflow
Open the testing modal present at the bottom. Click onRun Workflow button to perform a test execution and a Test Run log is generated with output of each node.
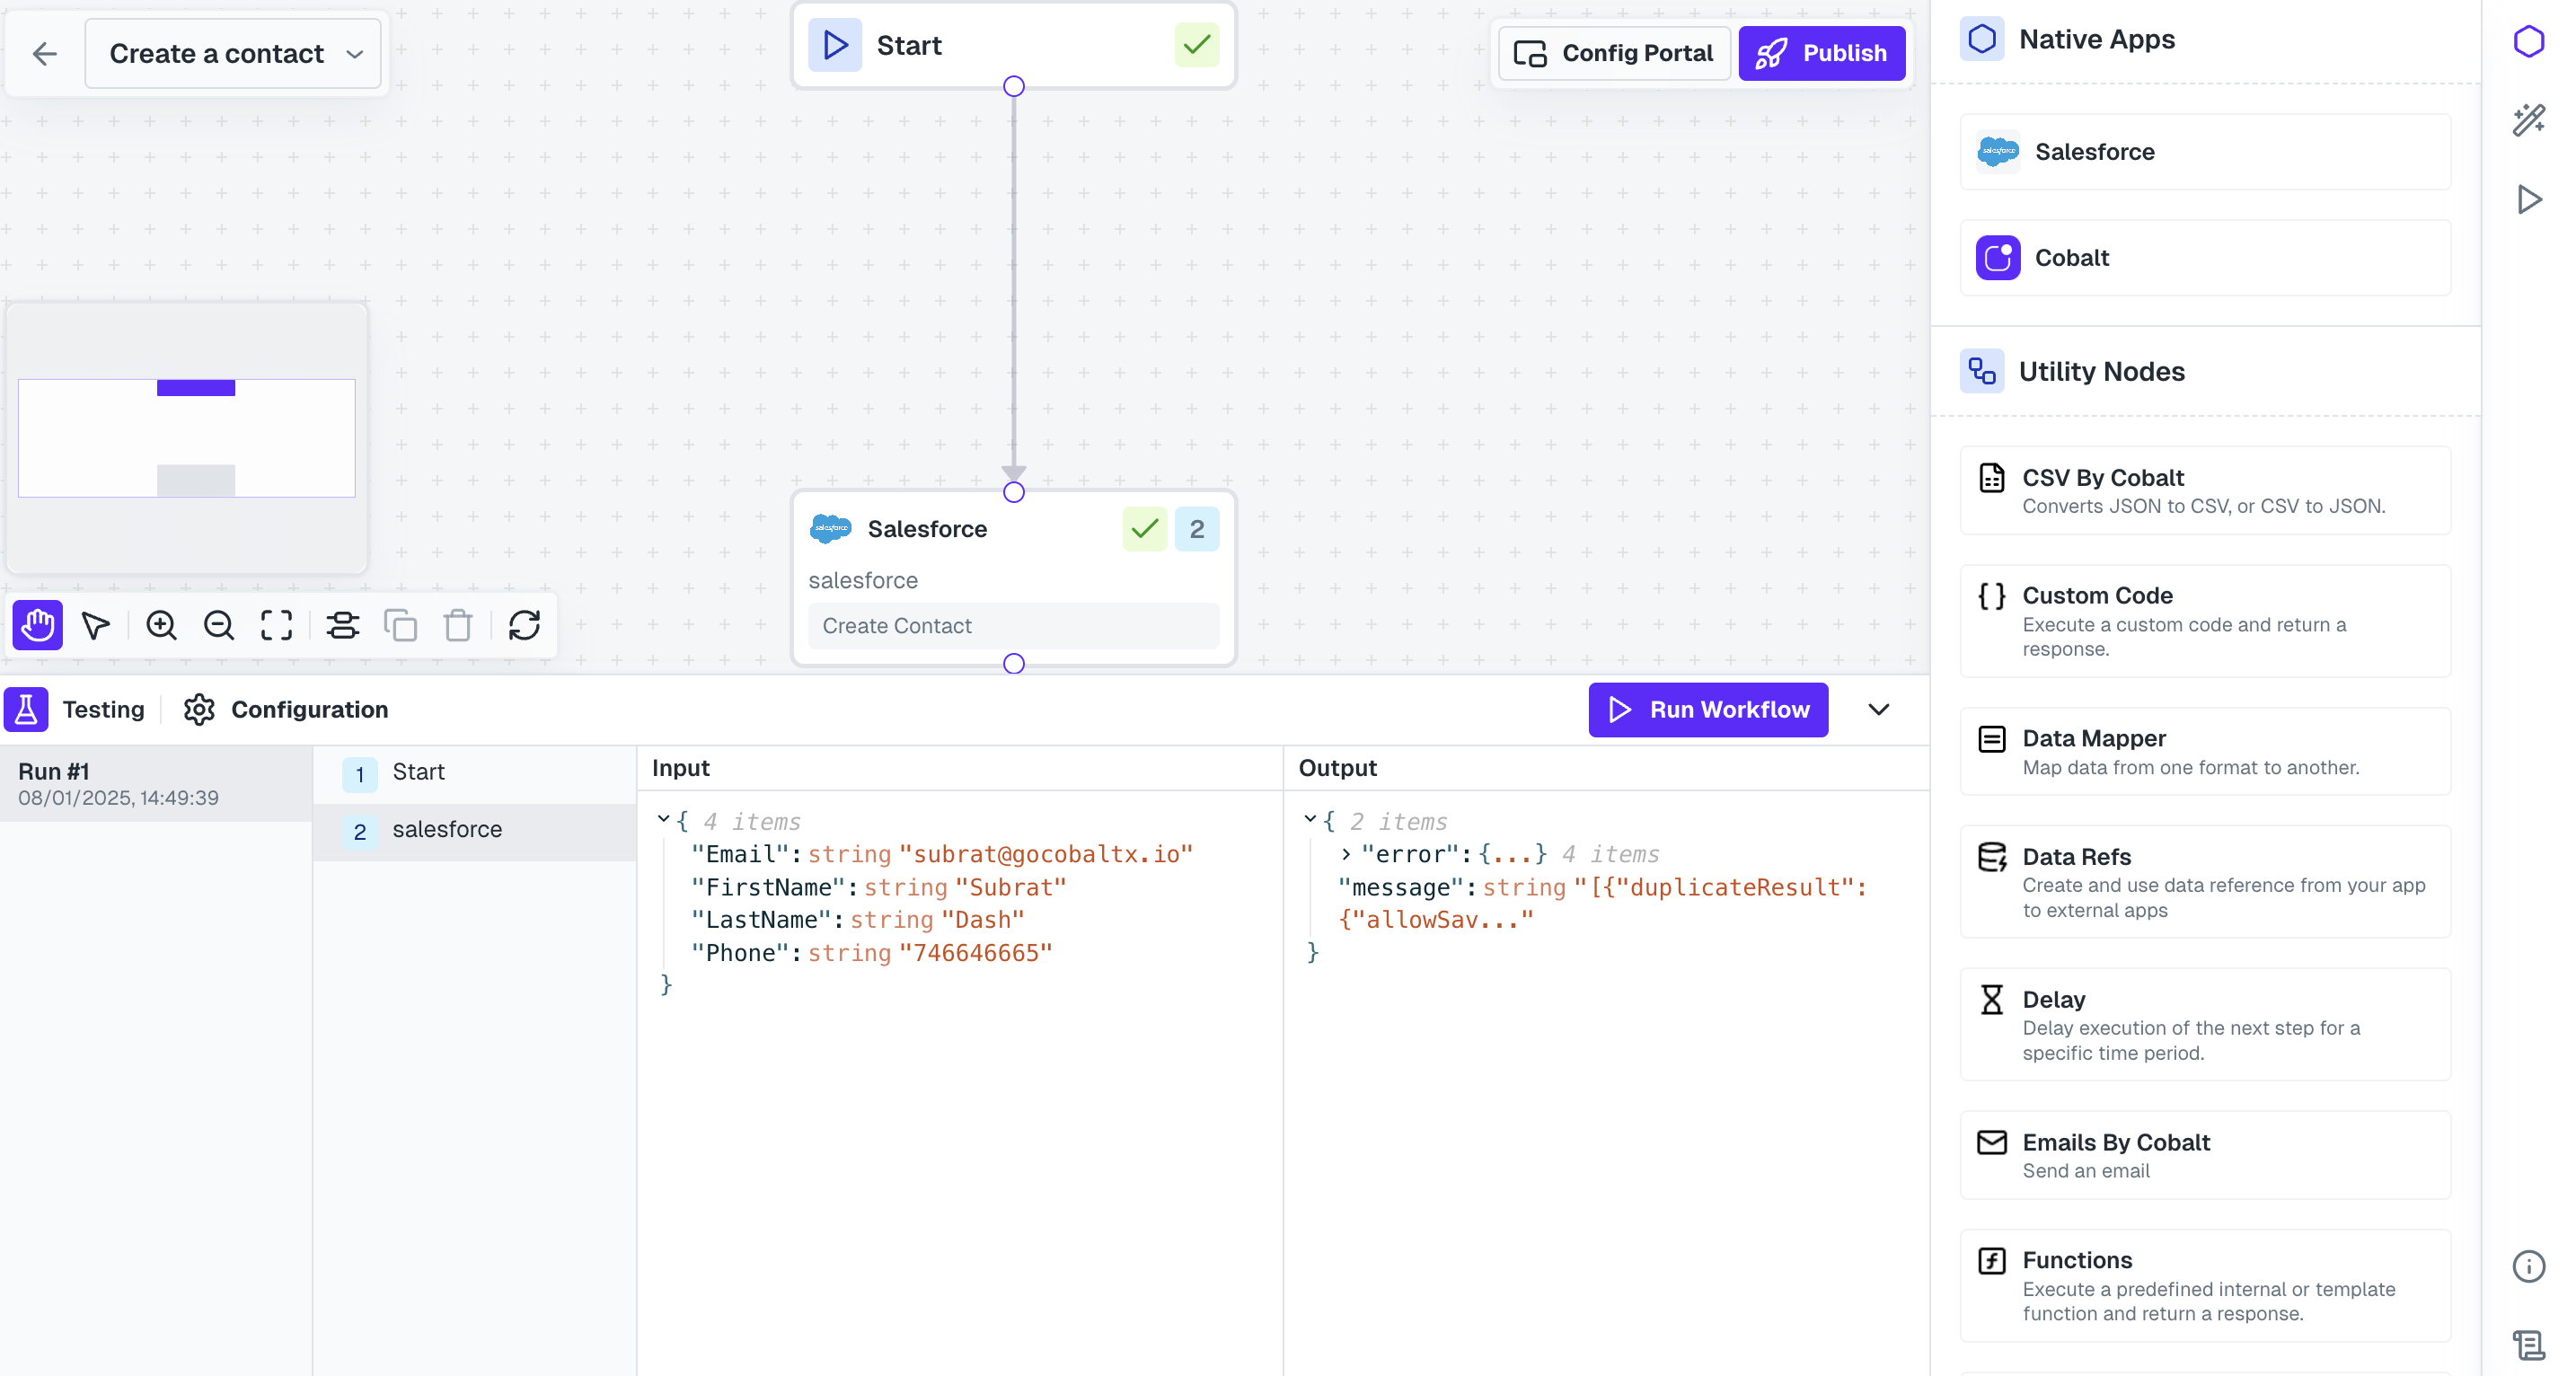
Hurray!!You have successfully created and tested a Salesforce workflow to create a new contact.