Pre-requisites
- Jira Developer Portal. You can create one here.
- Required Settings for the app. You can find it in Overview.
Required Settings
- Mandatory Scopes
- offline_access
- read:jira-work
If you haven’t already created an app in Jira, you’d need to create one.
Creating an app in Jira
To create a Jira app and acquire the above mentioned credentials, please follow the steps mentioned below:- Log in to your Jira Developer Portal.
- Click on the
Createbutton in the right and selectOAuth 2.0 integration.
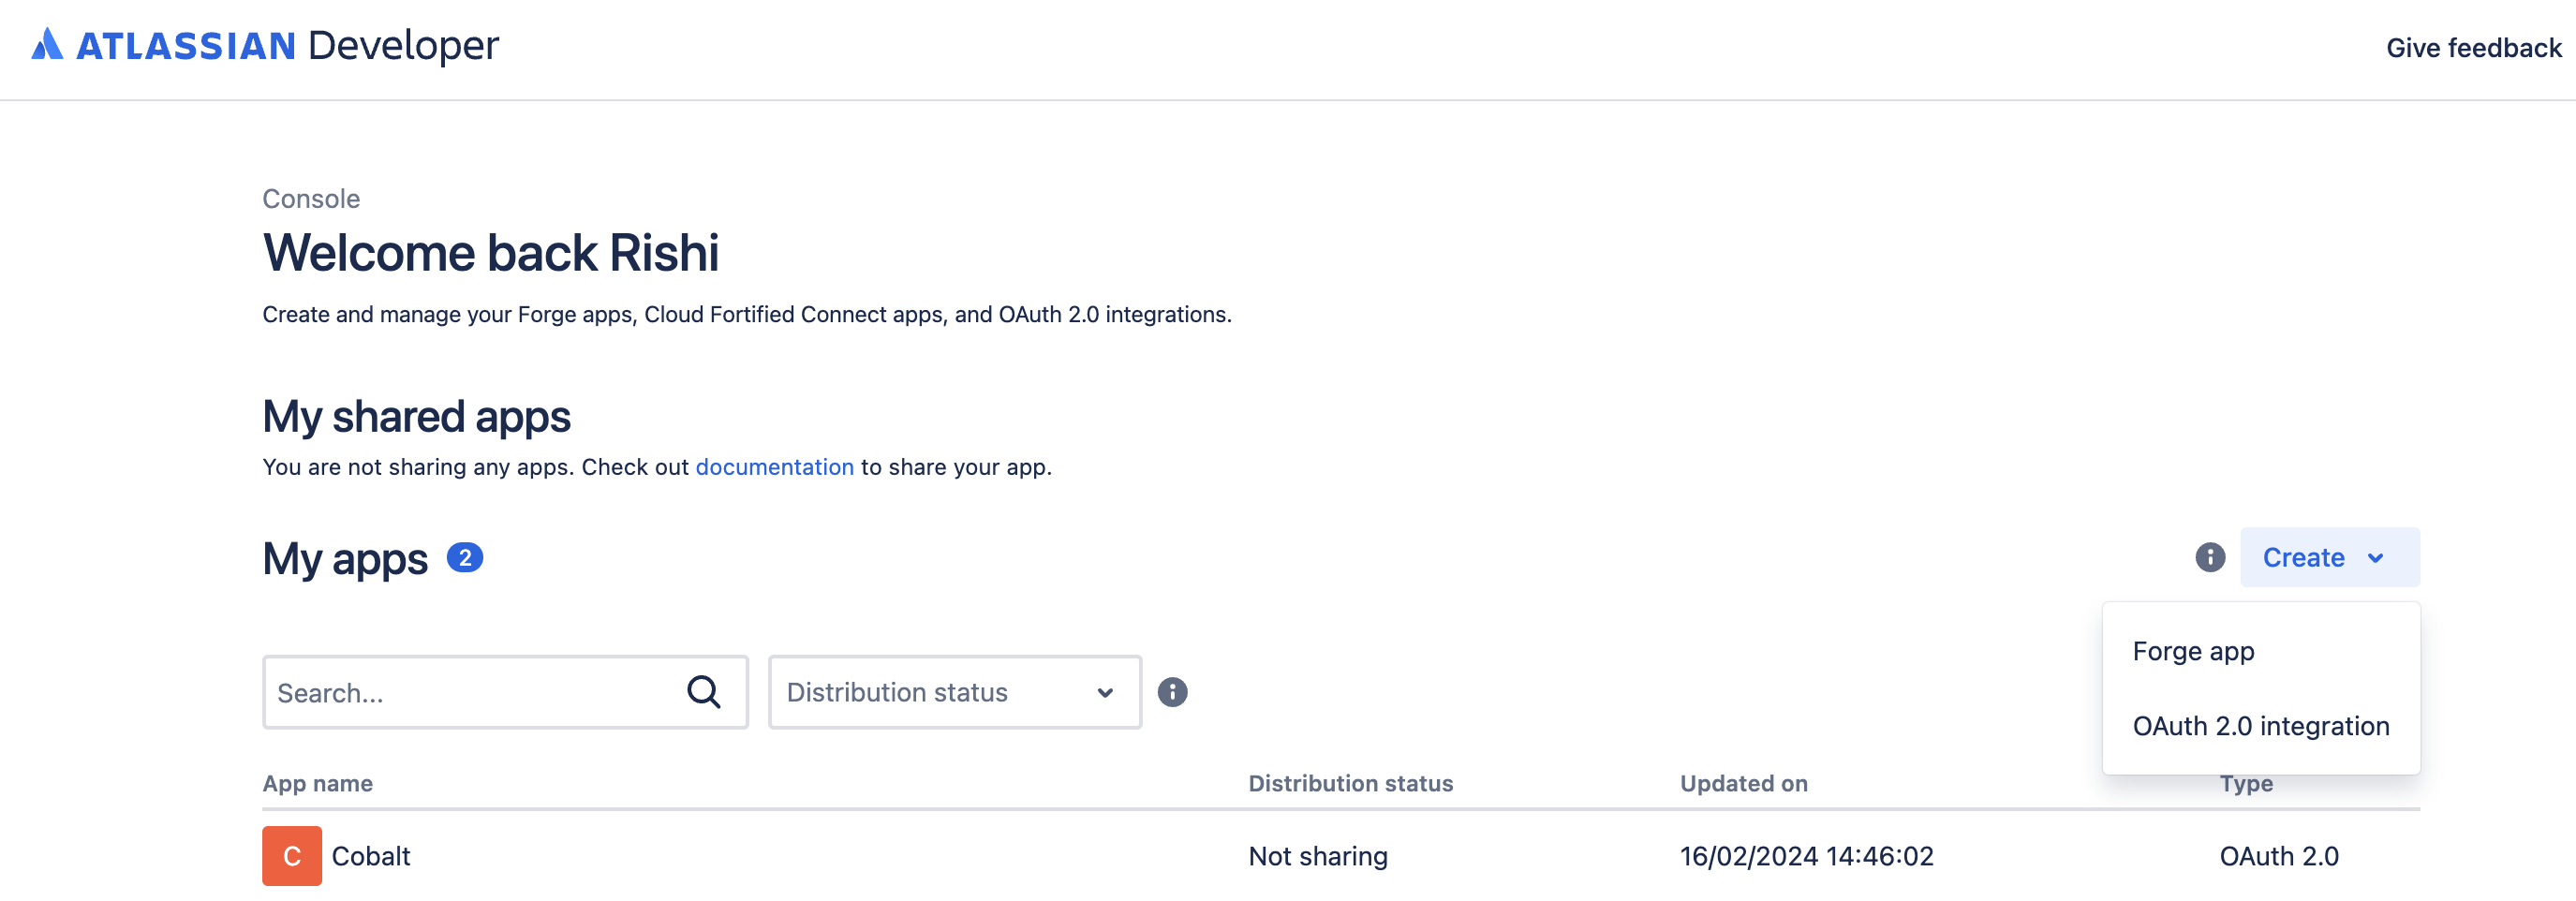
- Enter the App Name for your application, agree to the Developer’s terms and click on
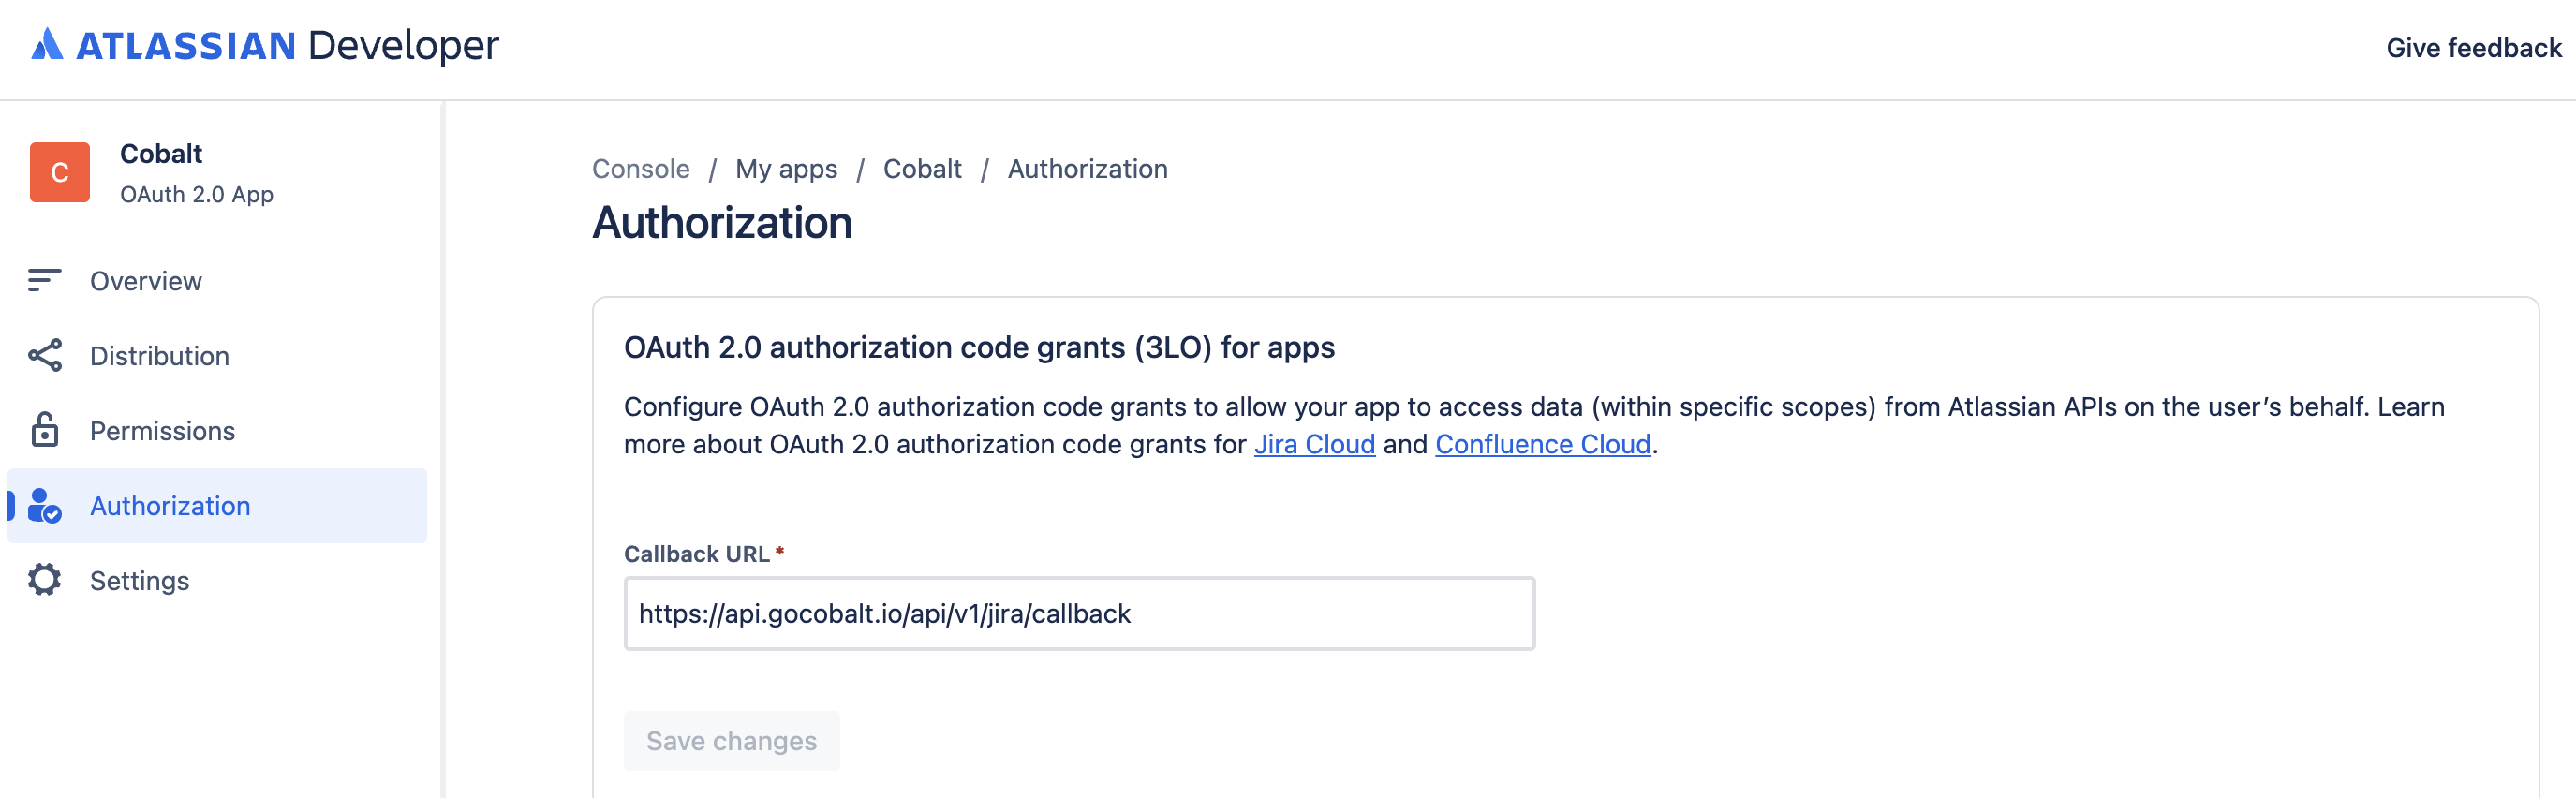
Create. - Go to your
Apps catalogin Cobalt > Search forJira>Settings>Use your credentials>Callback Url> Copy it. - Navigate to
Authorizationin the side menu > Click onAddbutton under Action > Paste the Callback Url > Click onSave changes.
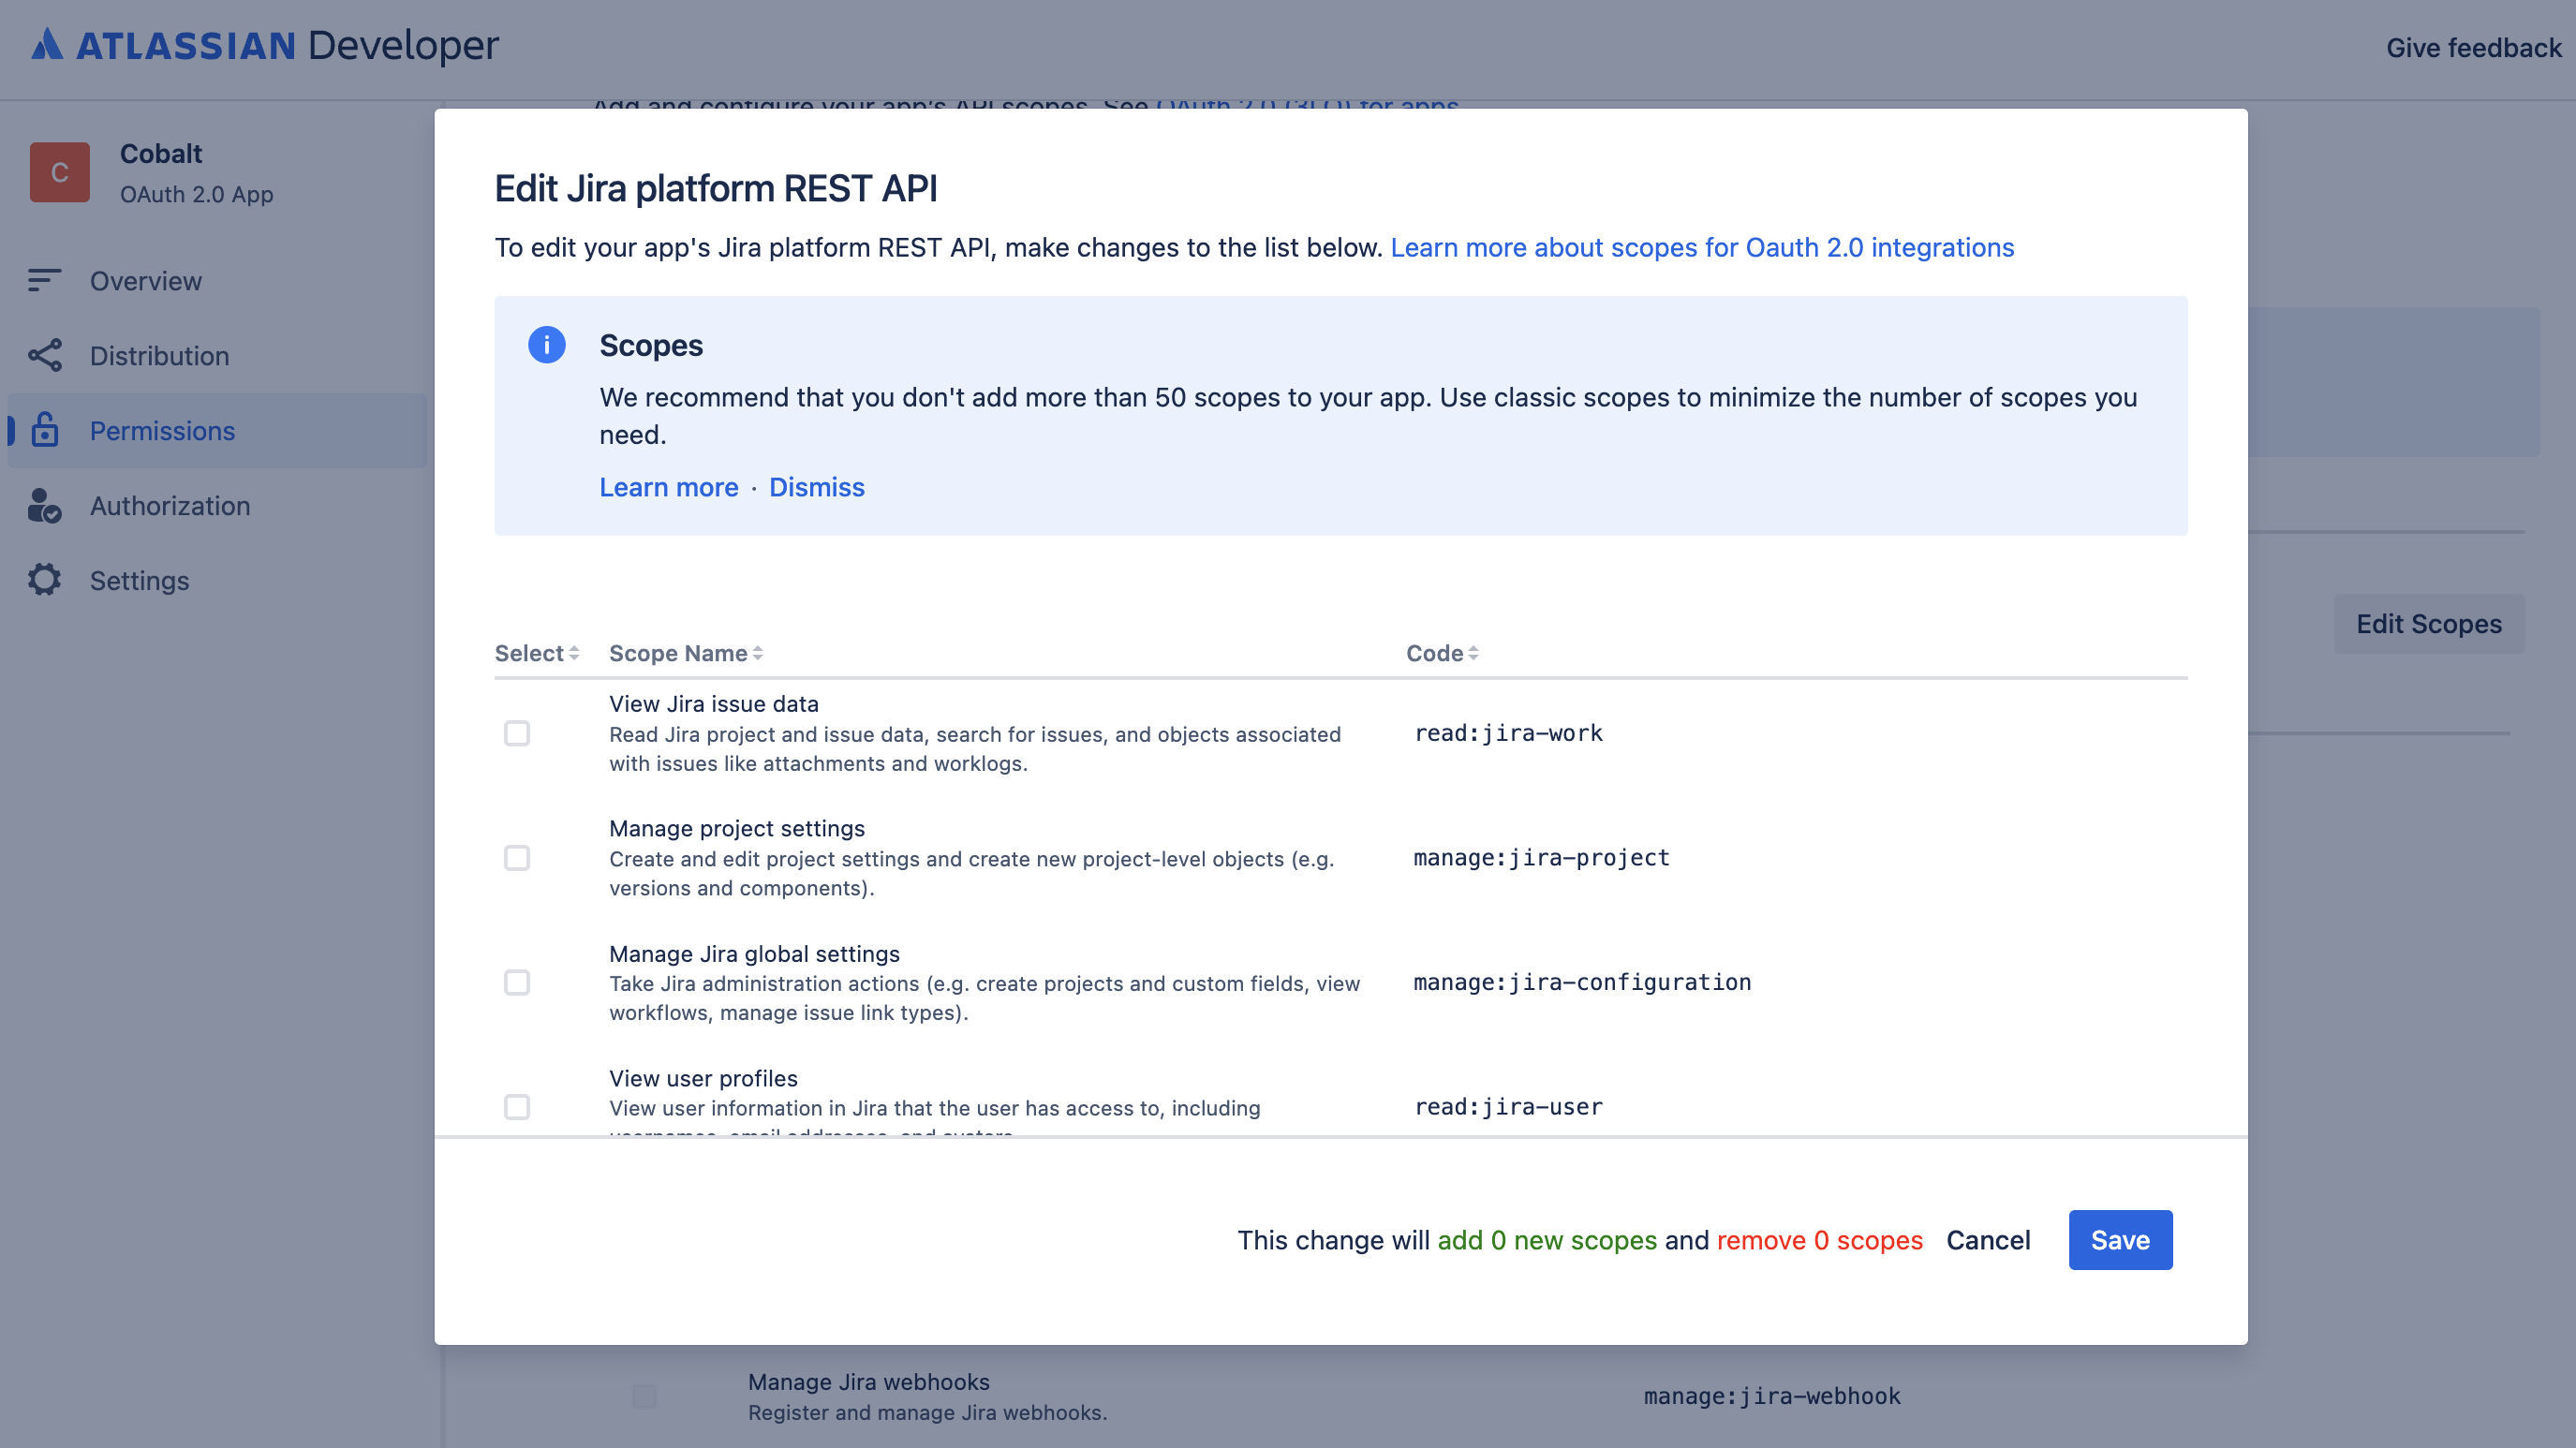
- Navigate to
Permissionsin the side menu > Click onAddbutton in Jira API > Click onConfigure. - Navigate to Classic scopes tab > Click on
Edit Scopesbutton in Jira platform REST API > Select read:jira-work scope > Click on theSavebutton.
- Navigate to
Distributionin the side menu > Click on theEditbutton > Change distribution status toSharingand provide Vendor and Security Details > Click onSave Changes.
Note: Changing Distribution Status from Private to Sharing is necessary, otherwise only the Developer account user can install and use it.
- Navigate to
Settingsin the side menu, scroll down and copy the Client ID and Secret from Authentication details section.

Configuring credentials in Cobalt
App settings page lets you configure the authentication settings for anOAuth2 based application. For your customers to provide you authorization to access their data,
they would first need to install your application. This page lets you set up your application credentials.
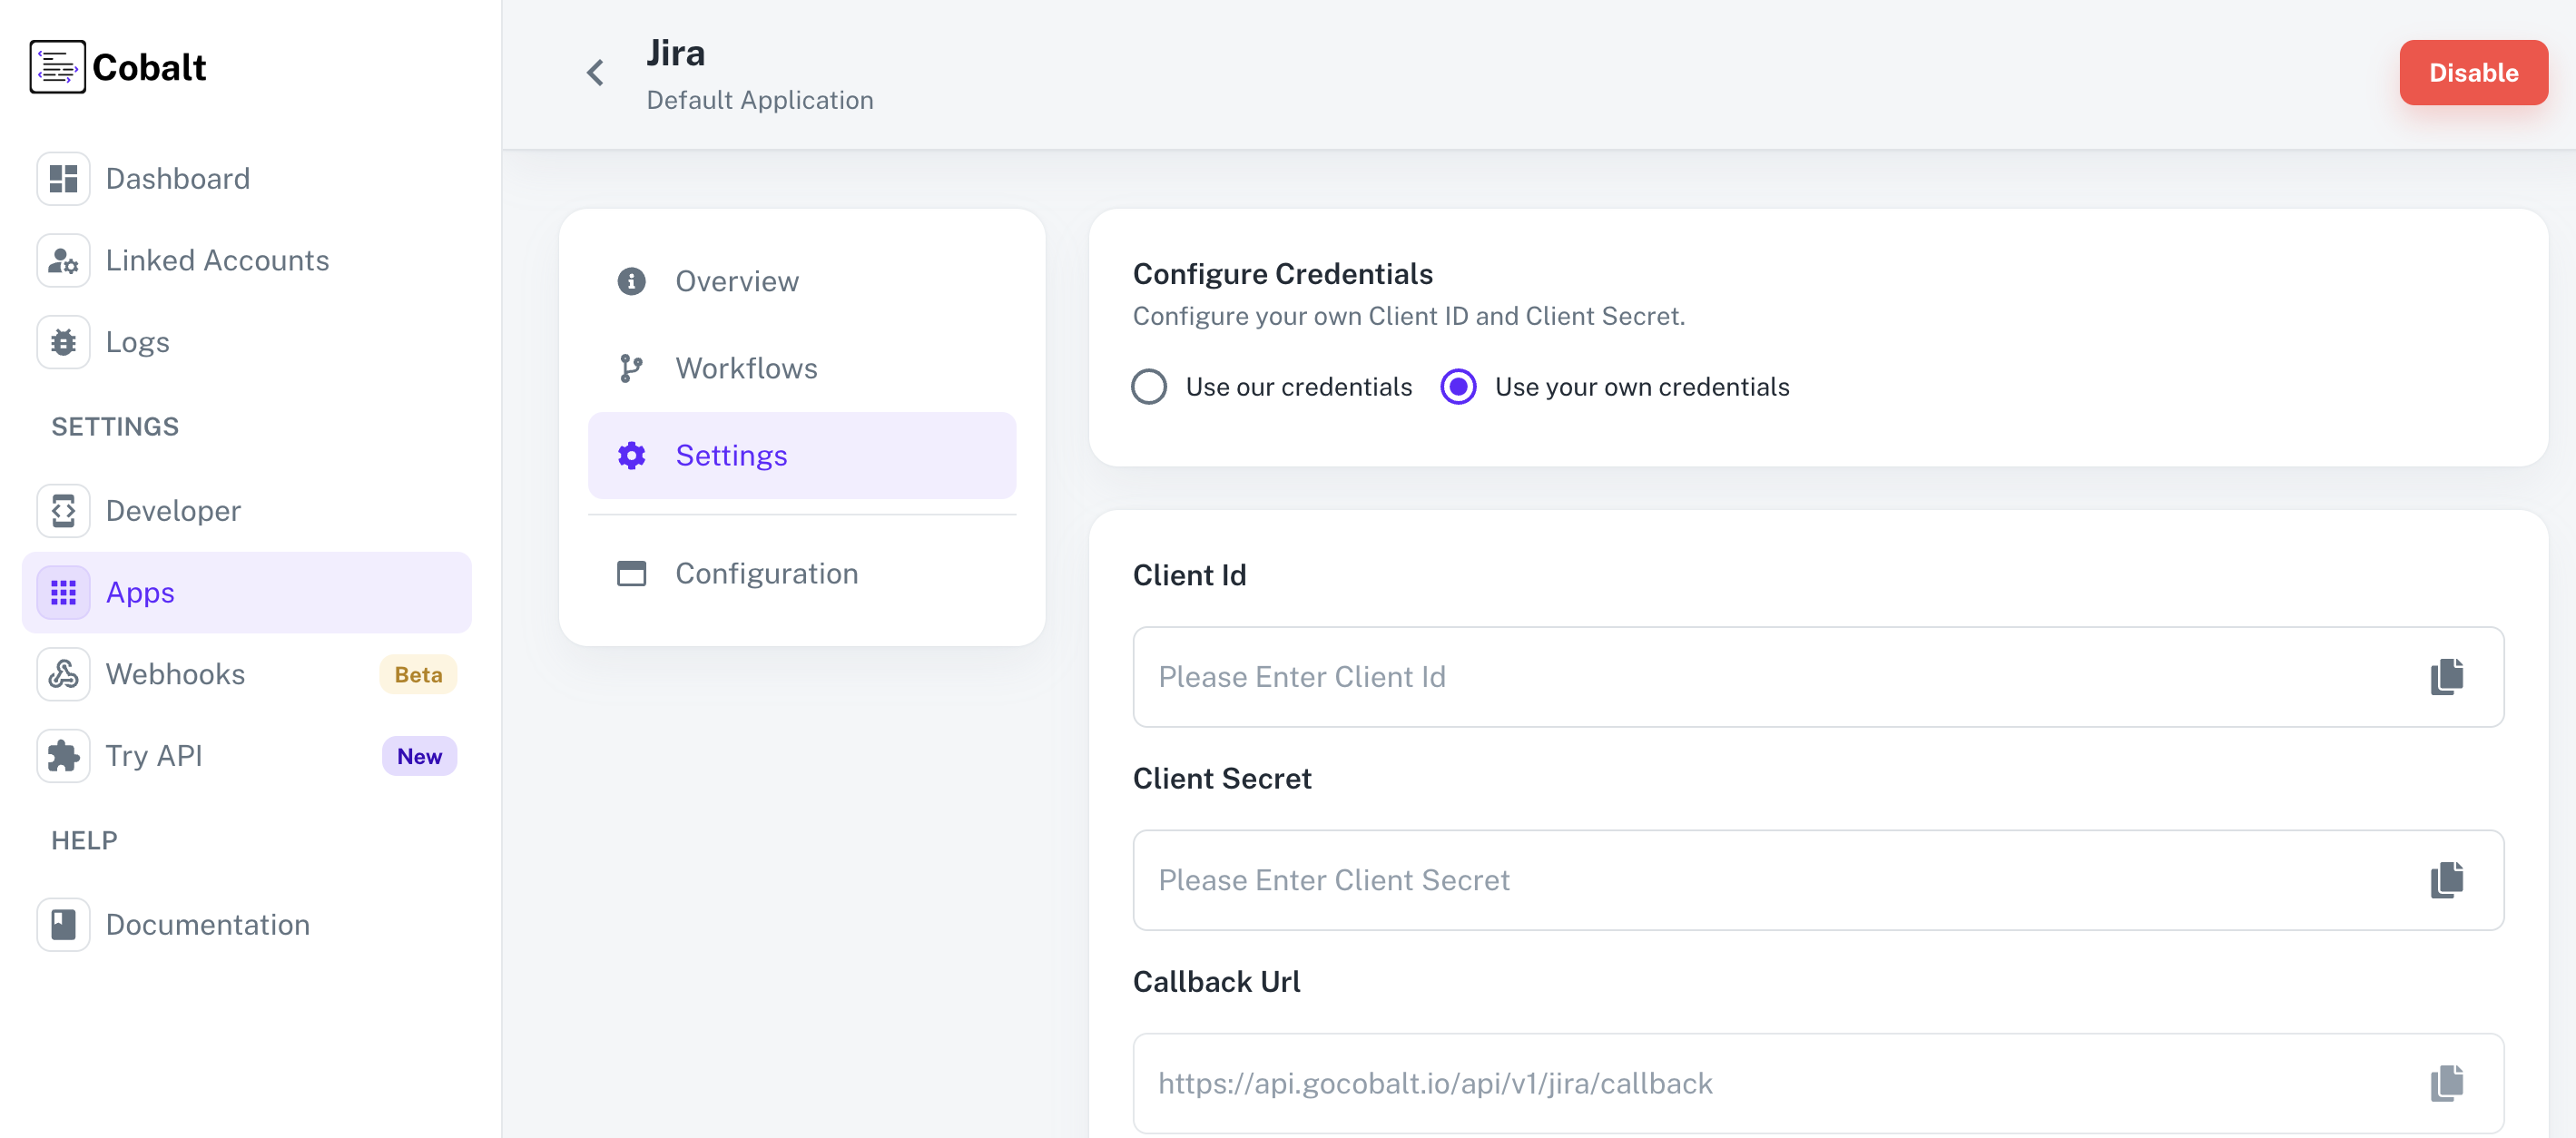
Use our credentials. However, if you wish to use your own application,
select Use your own credentials. Provide the acquired Client Id and Client secret and click on Save changes.
Configuring Scopes
Cobalt lets you configure what permissions to ask from your users while they install your application. The scopes can be added or removed from the App settings page, underPermissions & Scopes
section.
For some applications Cobalt sets mandatory scopes which cannot be removed. Additional scopes can be selected from the drop down. Cobalt also has the provision to add any
custom scopes supported by the respective platform.
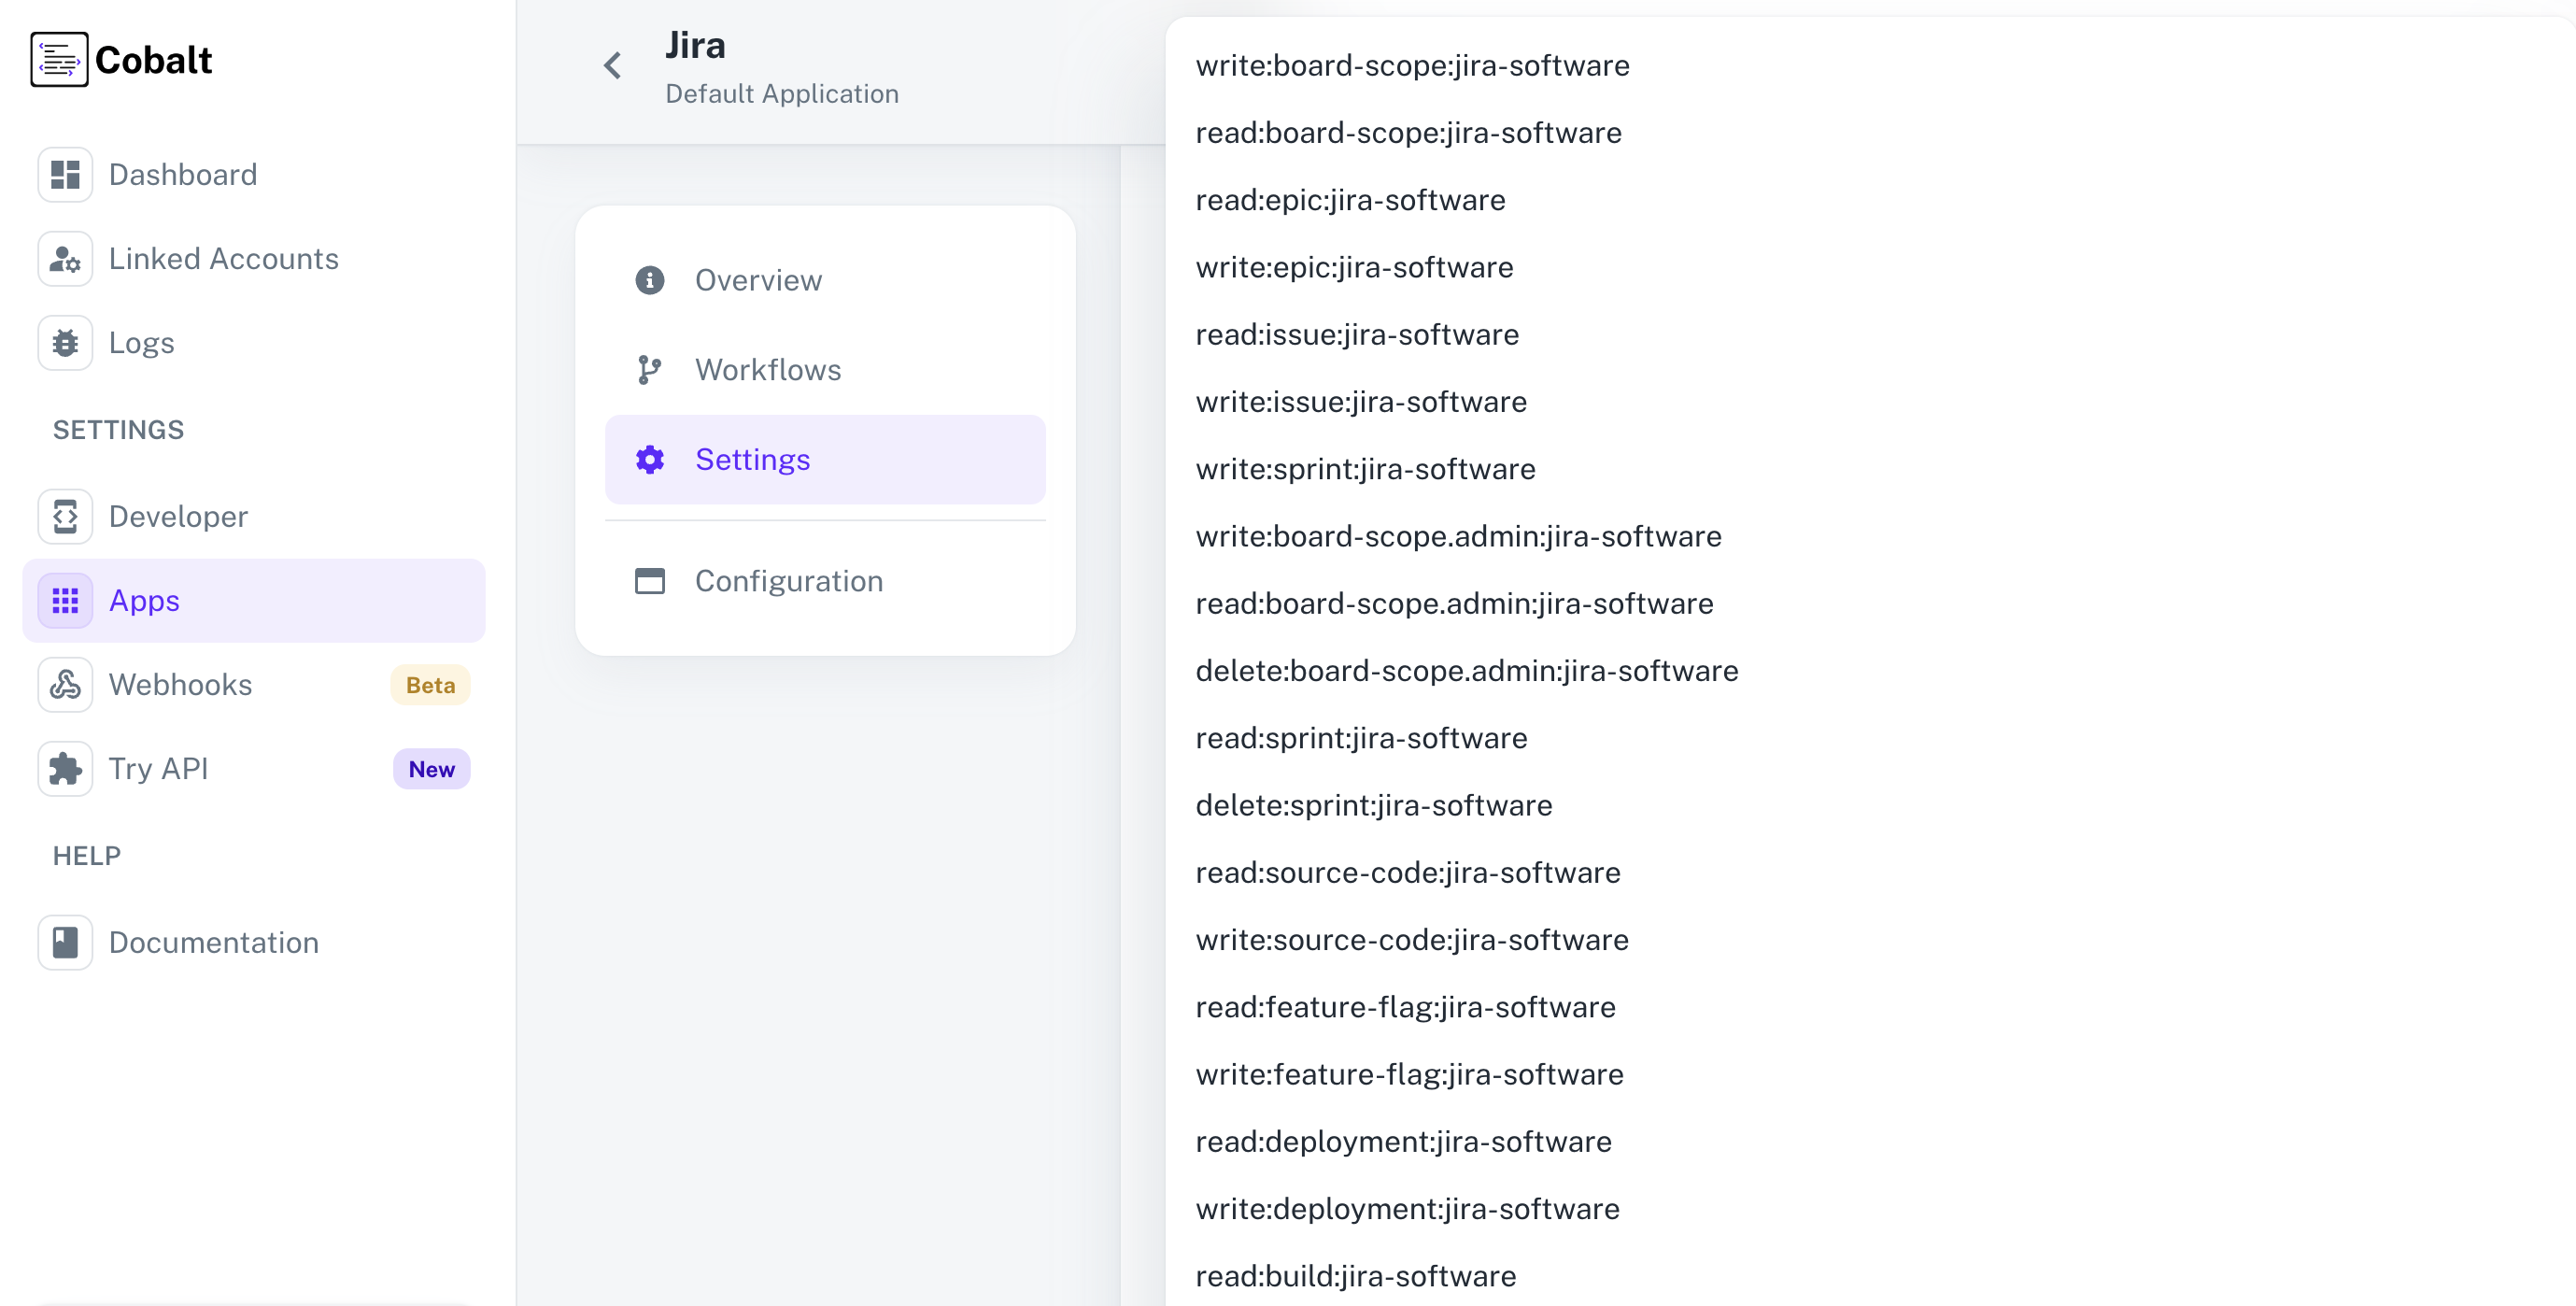
Permissions in the left menu > Click Configure in Jira API > Click on Edit Scopes > Select the scope > Click on Save .
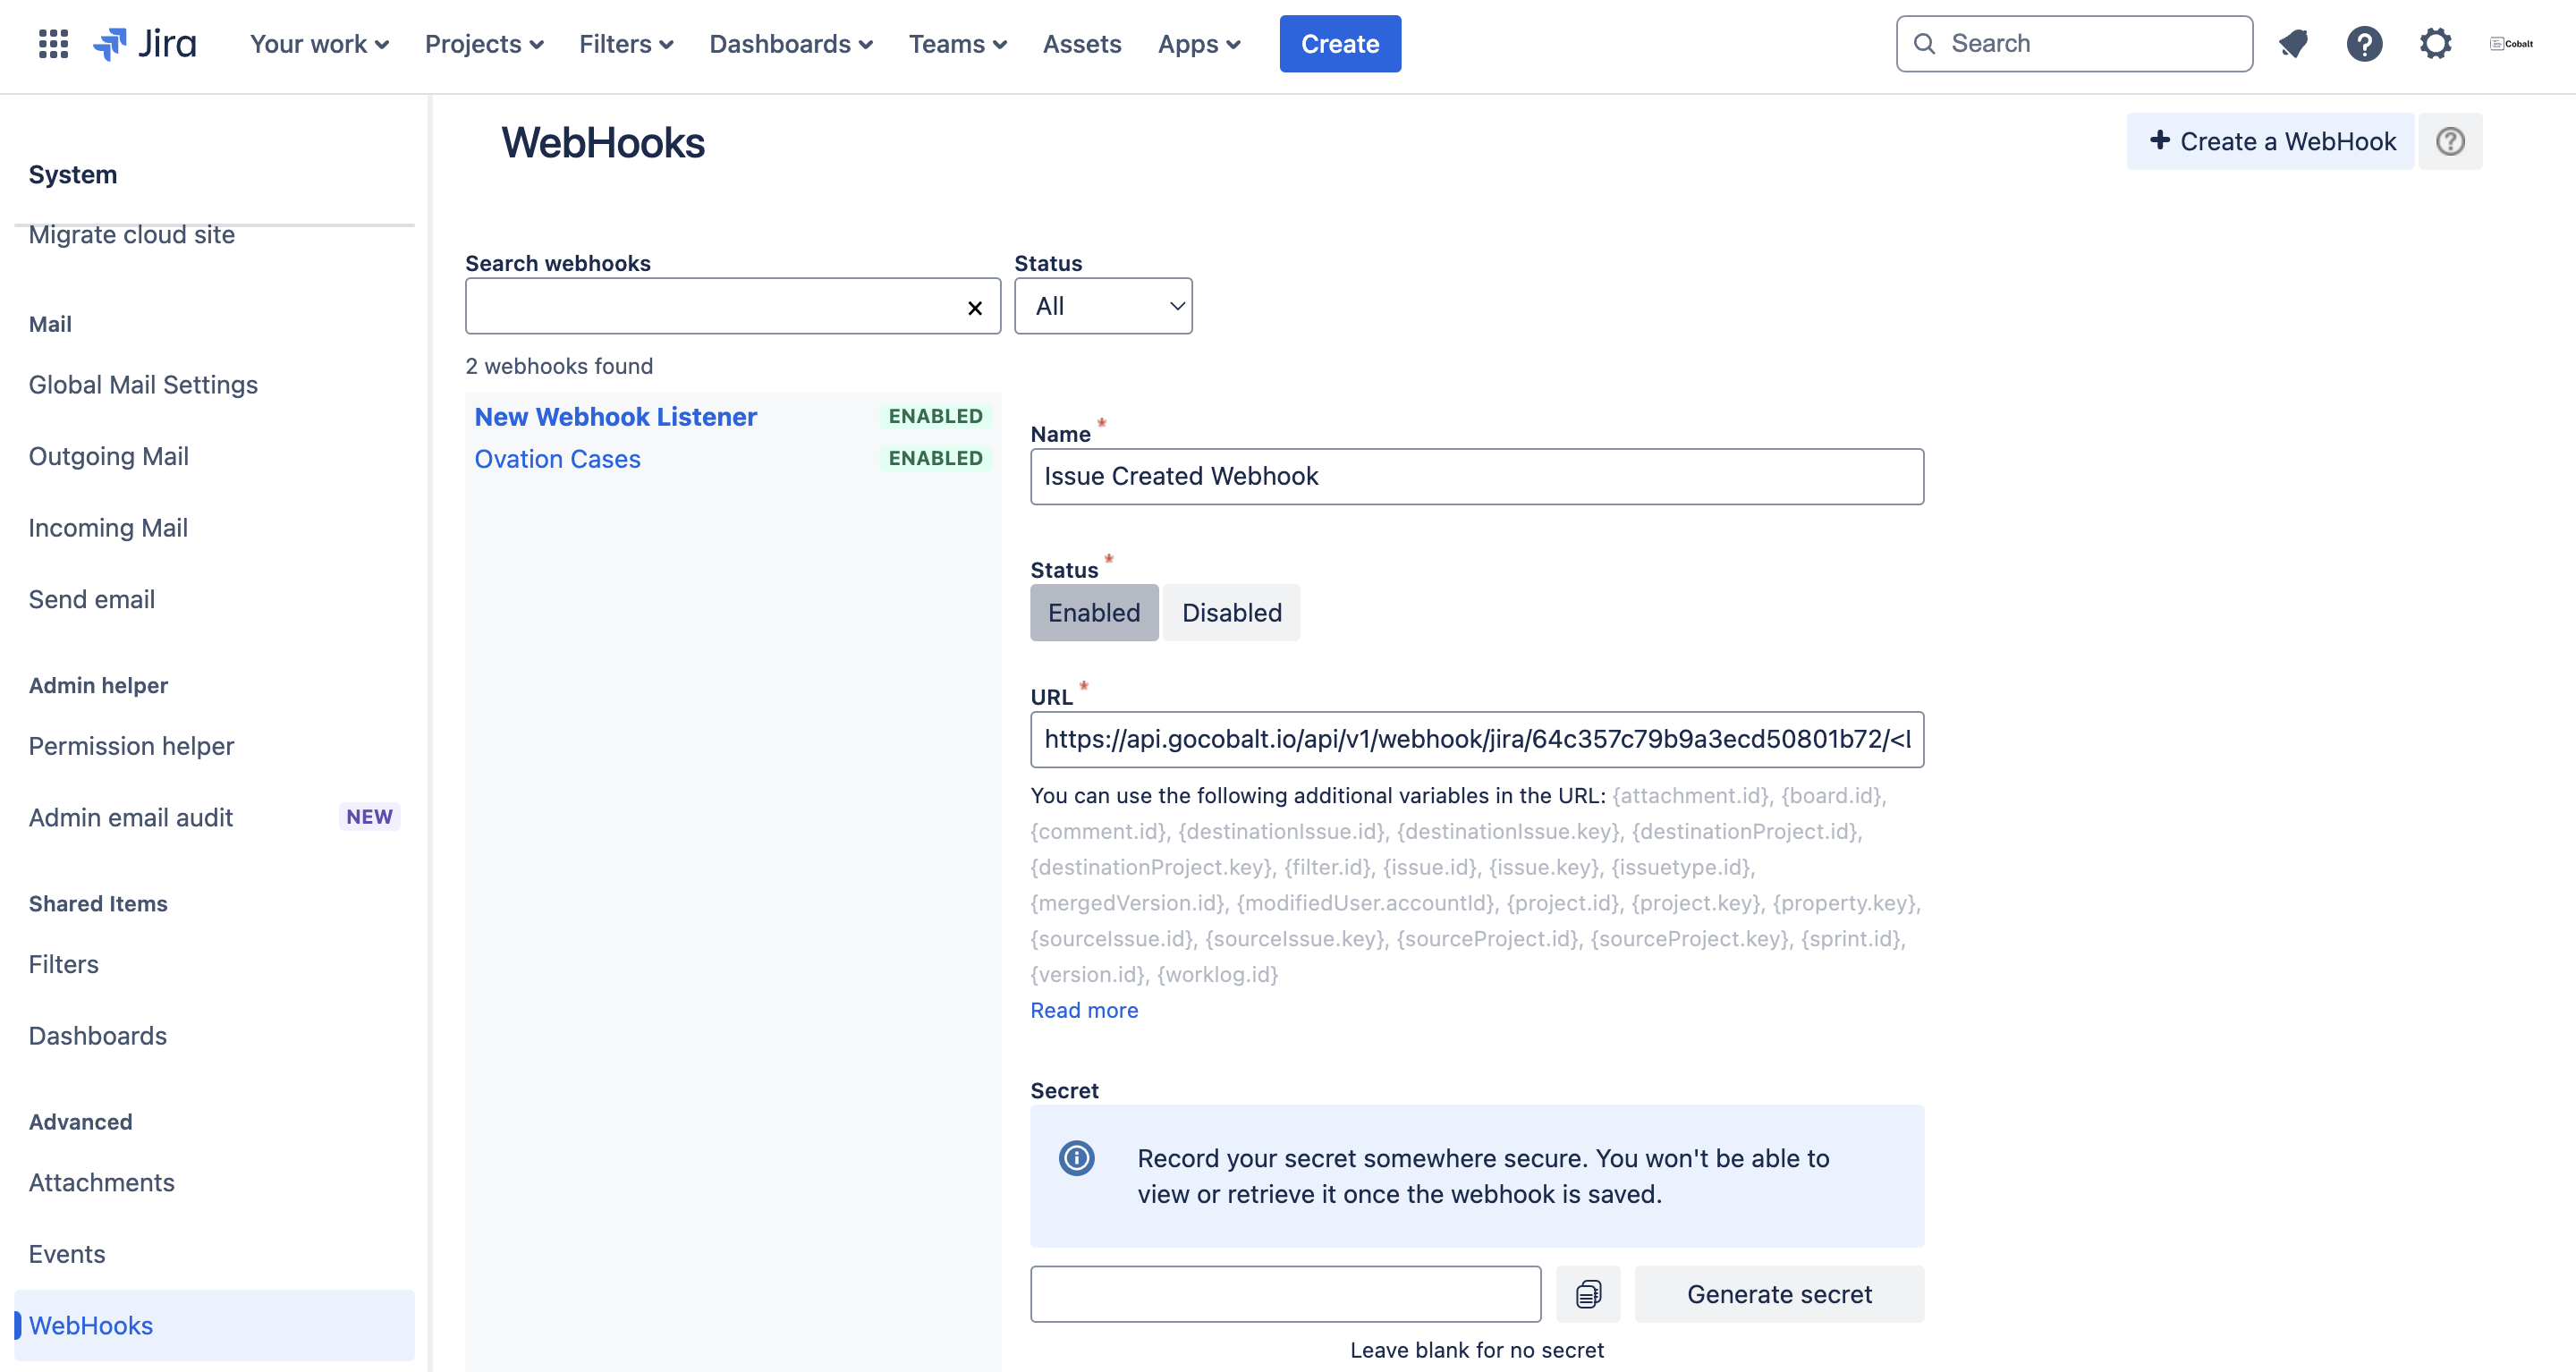
Jira Single Webhook URL
If you wish to create an orchestration where a workflow is being triggered when some operation occurs in Jira, you’d need to subscribe to Jira’s Webhook. Cobalt provides a single webhook URL to manage such event triggers for all your customers. To setup Jira webhook subscription:- Select Jira from the application list in Cobalt, and select
Settings. - Copy the
Single Webhook Url. - In your Jira Admin account, click on
Gearicon in the top right > SelectSystemunder Jira Settings.
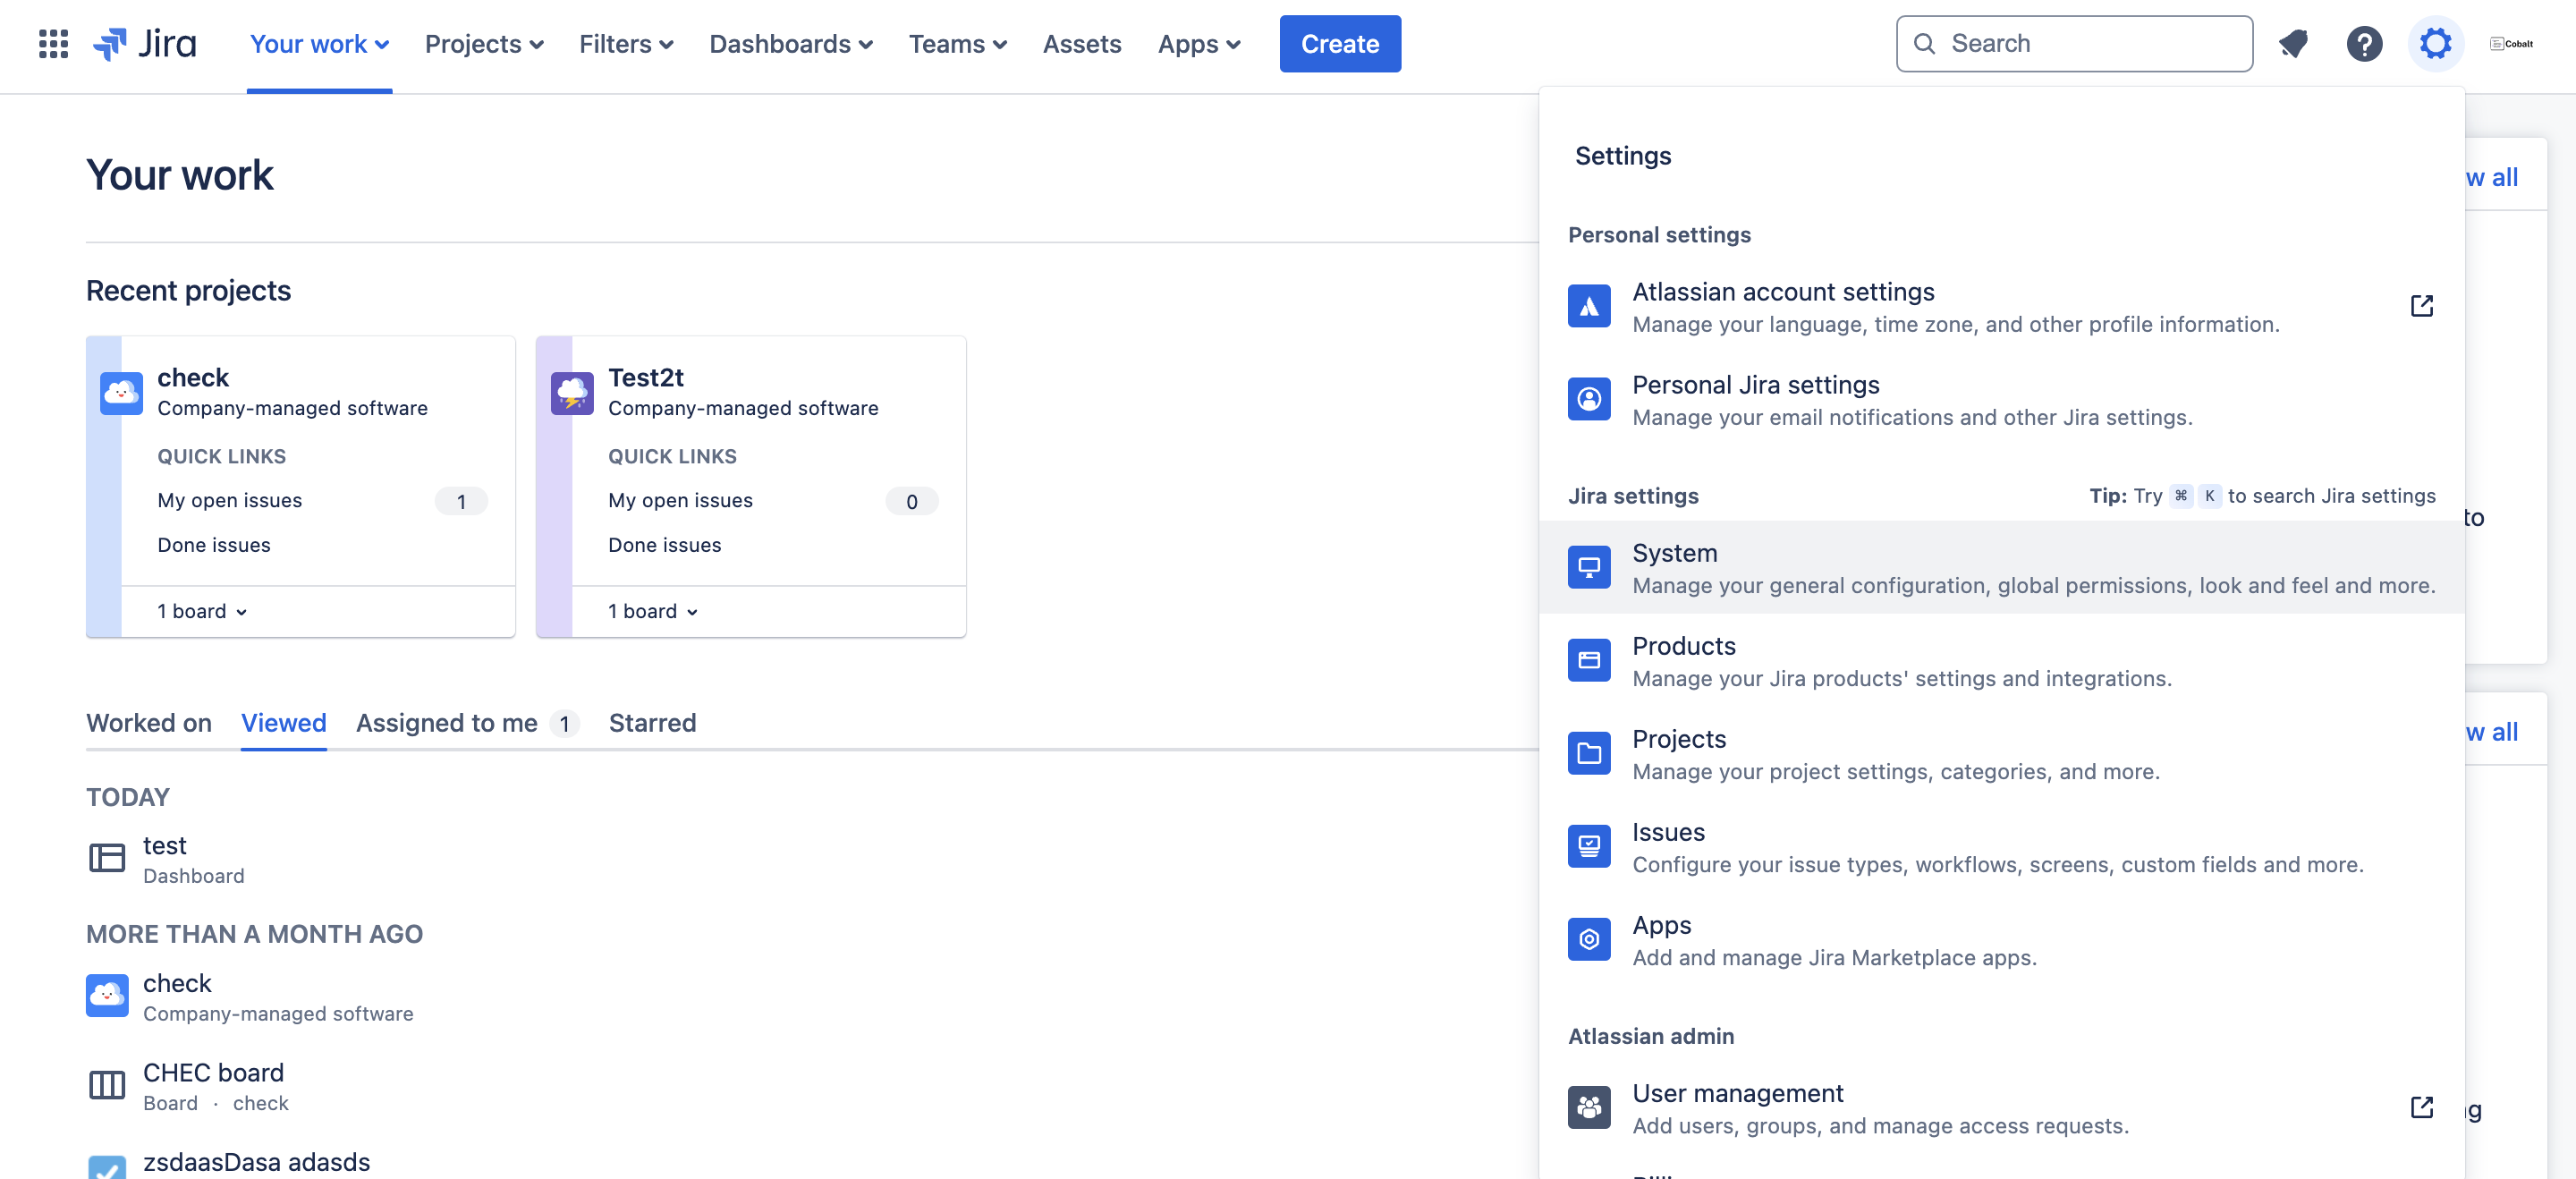
-
Scroll down in the side menu and select
WebHooks. -
Click on
+ Create a WebHook, give it aName, paste the Webhook URL that you copied underURLand add relevant events for which you want to be notified.
Make sure the WebHook created has the Enabled status.